Since moving into the Portland Works in January 2015 I have had a desire to learn more about knife making. Obviously there is a long tradition of knife making in Sheffield generally, and more specifically at the Portland Works https://www.sheffieldhackspace.org.uk/585 so it felt fitting to start exploring this new interest at the hackspace.
Fast forward 18 months and I’d still not made any progress but a few minutes spent in our neighbors workshop http://stuartmitchellknives.com/ during one of the Portland Works open days inspired me further and I went home that day and ordered a piece of tool steel with the firm intention of getting moving. However life got in the way yet again and a temporary pause was once again placed on my project.
When I did finally think I had some quality time to spend on knife making I pulled out the piece of steel I had brought and looked at it. Something was nagging at me. Some advice I had been given was “Start small”. Great advice for any new endeavor of course, but more specifically I’d been advised to make a knife from a kit instead of a piece of steel. The reason being is that finishing a knife off, attaching and shaping the handles essentially, is quite a challenge in itself so the first time you do it it probably isn’t the best idea to attach them to a piece of steel you have spent hours working on and then mess it up!! Much better to learn your lessons on a blade you haven’t got so much time invested in.
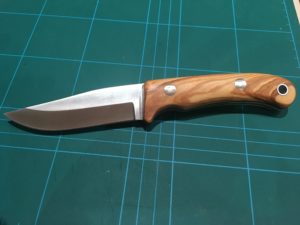
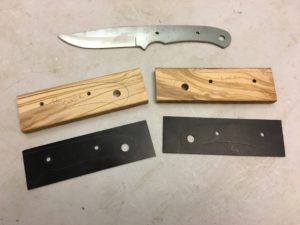
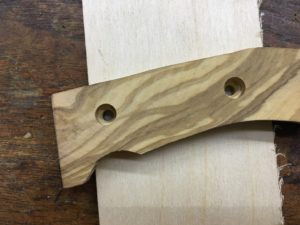
The knife kit itself is pretty simple. You get a blade, two pieces of material for the handle (in my case olive wood), a couple of liners to go between the blade and the handle material (optional but can add strength and a nice visual contrast), two bolts for securing the handle to the blade and a metal tube for passing a lanyard through.
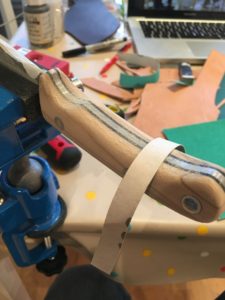
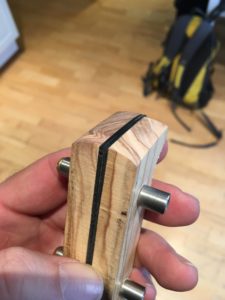
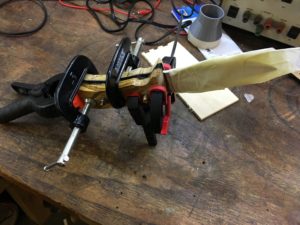
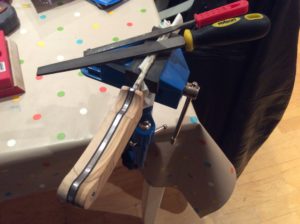
Once you have assembled all the parts you need for the build it’s time to get making! The first step is to drill the fixing holes for the bolts and the lanyard tube through the scales (handle material) and the liners (if using). These holes need to line up perfectly, and be at exactly 90 degrees, so I clamped the handle of the blade to both my wooden scale and the liner and then used the drill press to go through the existing hole in the blade handle (after measuring it of course). Once complete I attached the bolt through the hole I had just made to make sure that it couldn’t slip out of alignment as I drilled the next two holes, one for the second bolt and the other for the thong tube.
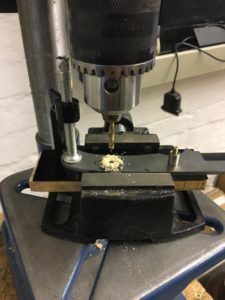
There are a number of different bolts / pins / fasteners that you can get to secure the scales onto the knife handle so this next step my not be necessary but I had to countersink the heads of my bolts into the handle so I used a larger drill bit (sized to the bolt head) to drill about halfway into the wood giving me a stepped hole. I actually hacked together a step drill bit to do this to give me a nice flat shelf at the base of the hole but just countersinking would work just fine.
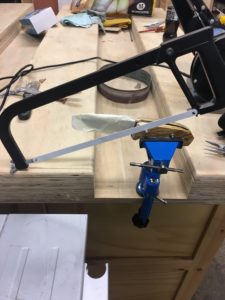
To finish the handle I used small strips of sandpaper, starting at around 120 grit and then moving up to 400 grit, and pulled them around the handle until I had a nice smooth finish, paying close attention to the bolts making sure they were nicely polished.