

What have members of Sheffield Hackspace been up to this two-months?
Let’s find out what some members have been up to!
- Alan - CAD course for SU3A members
- Tom - LED panels
- alifeee - tidying and lighting up the electronics workbench
- Robin - craft room table
- Adam - retrofitting an old radio
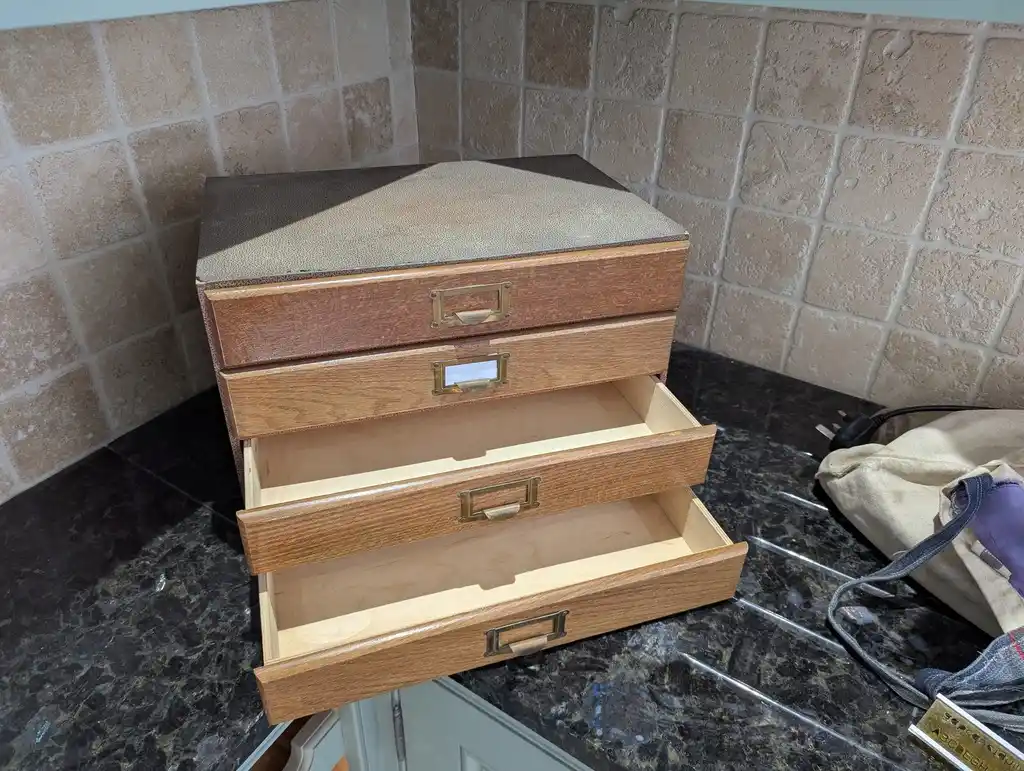
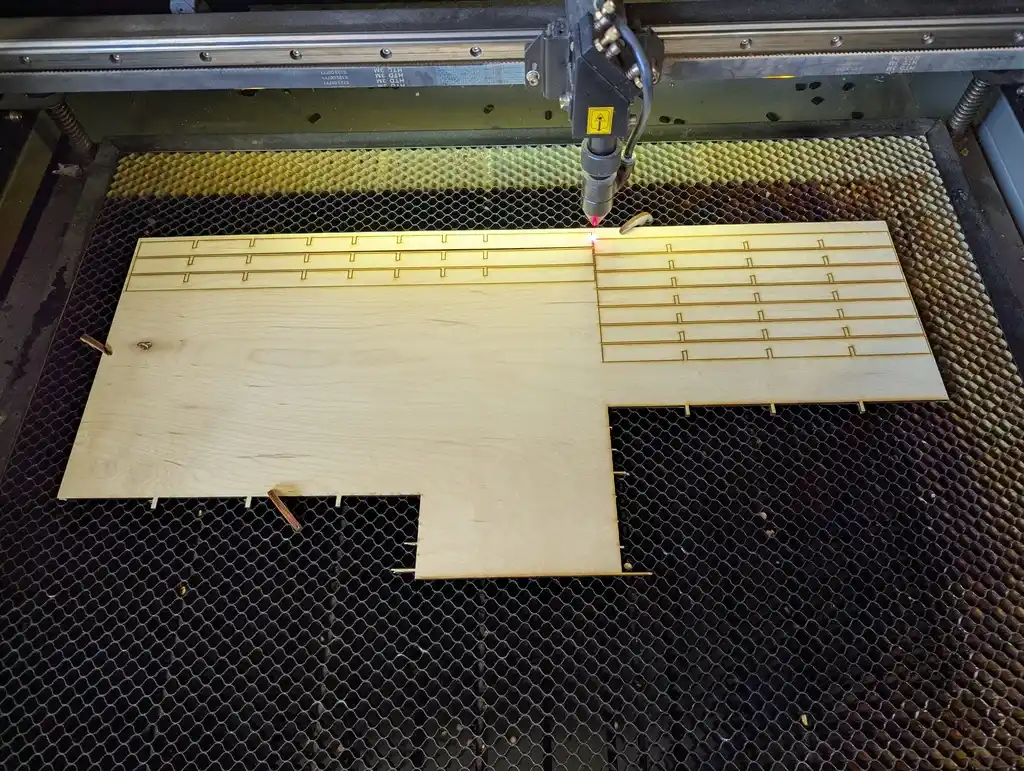
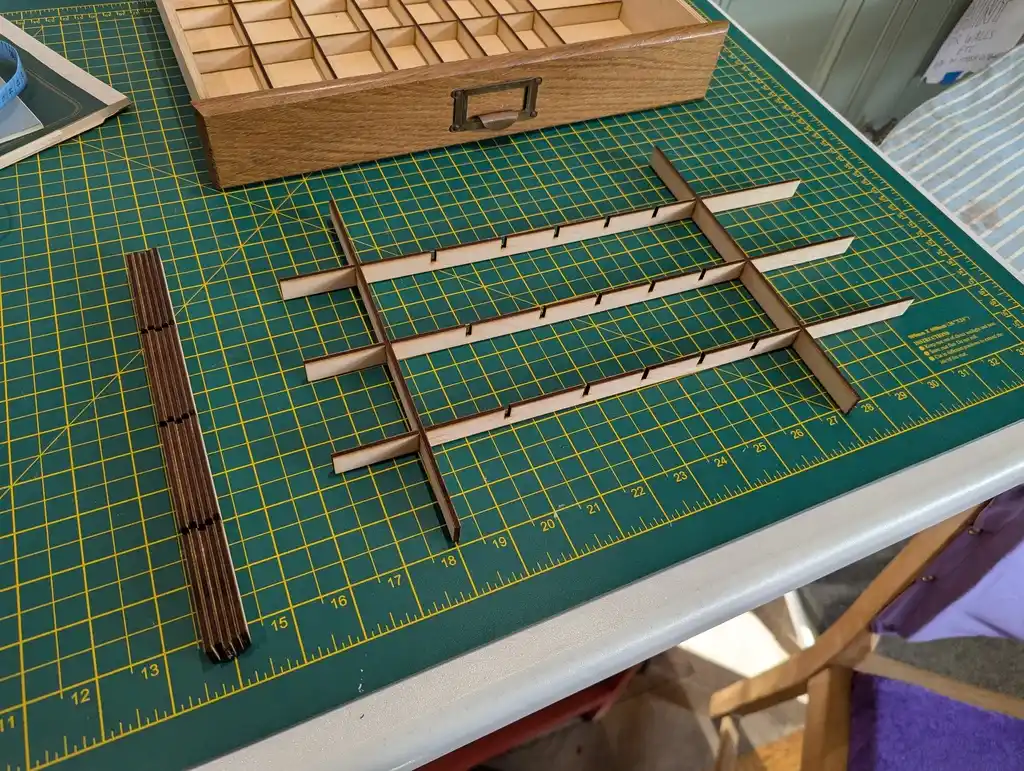
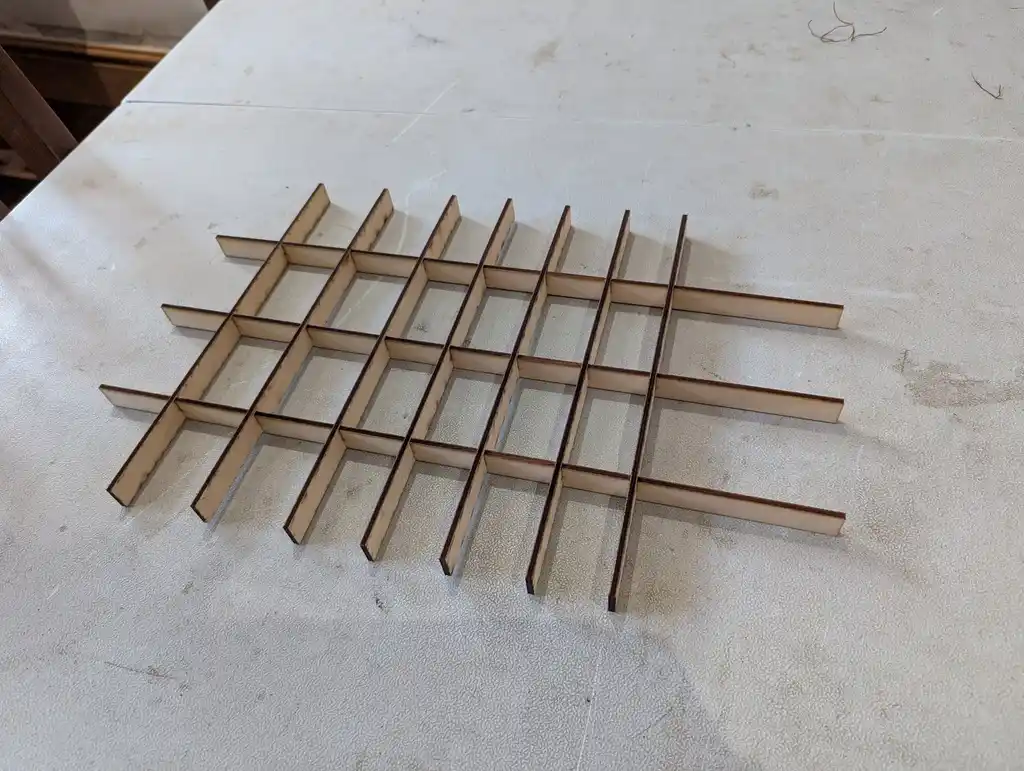
- alifeee - drawer inserts for effective storing of thread
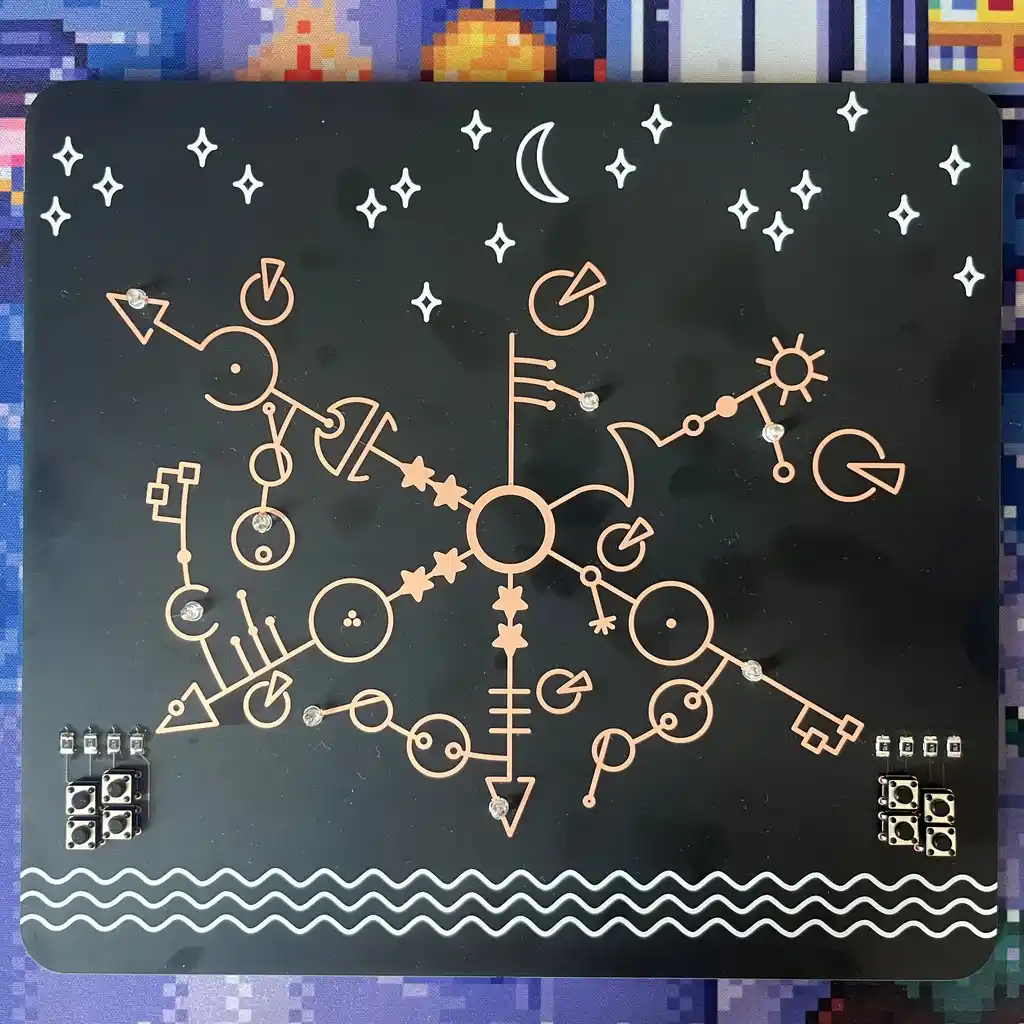
- Primm - custom twinkly LED board
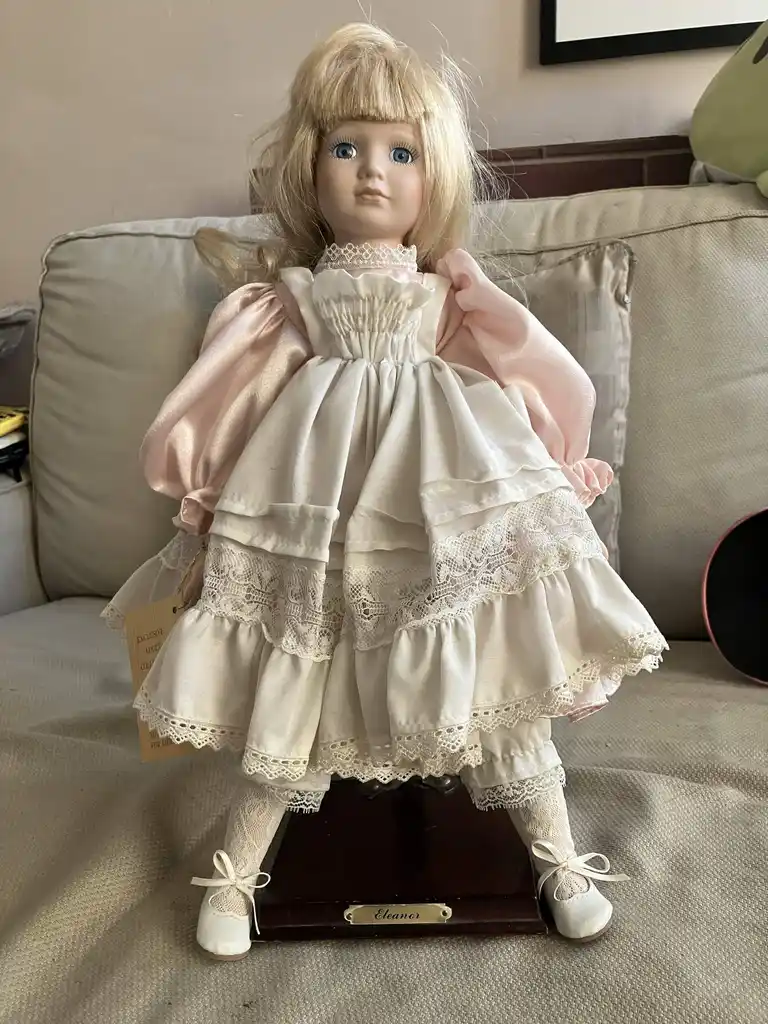
- Ellie - making a creepy animatronic doll
- alifeee - more environment sensing
- Tom - telescope pictures
- Toby and Dexter - building a portal gun
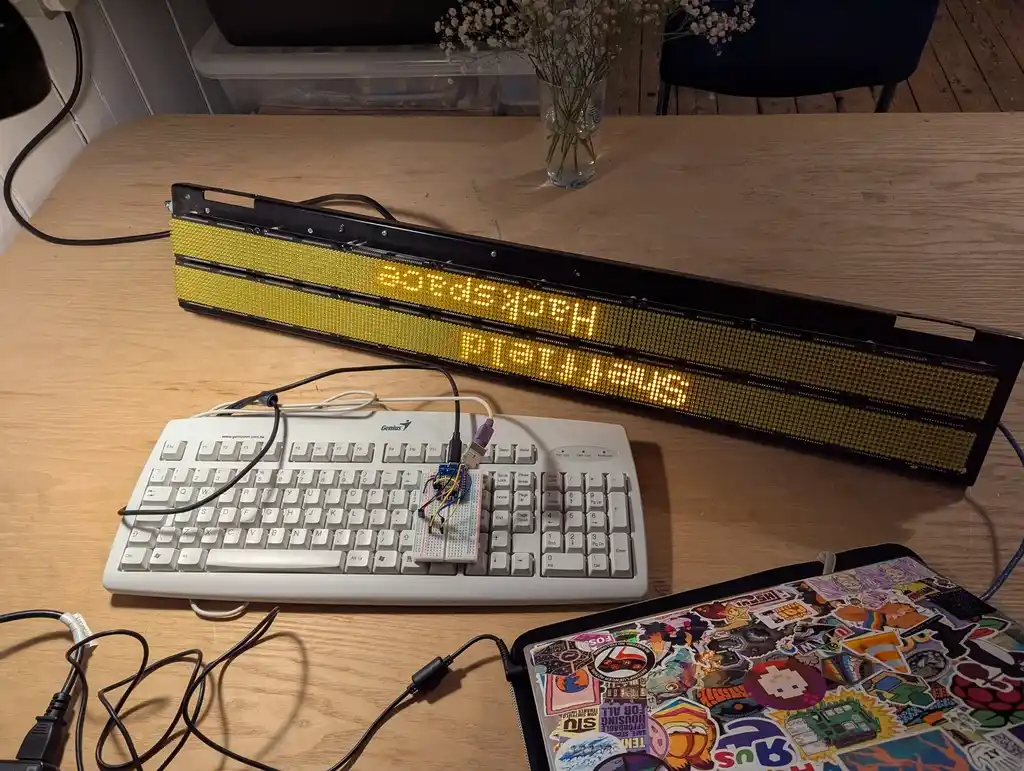
- alifeee and Adam - trying out LED signs
- Rob - making a pulley with the CNC mill
- Robin - improving bench vice
- Alan - leather belt holster
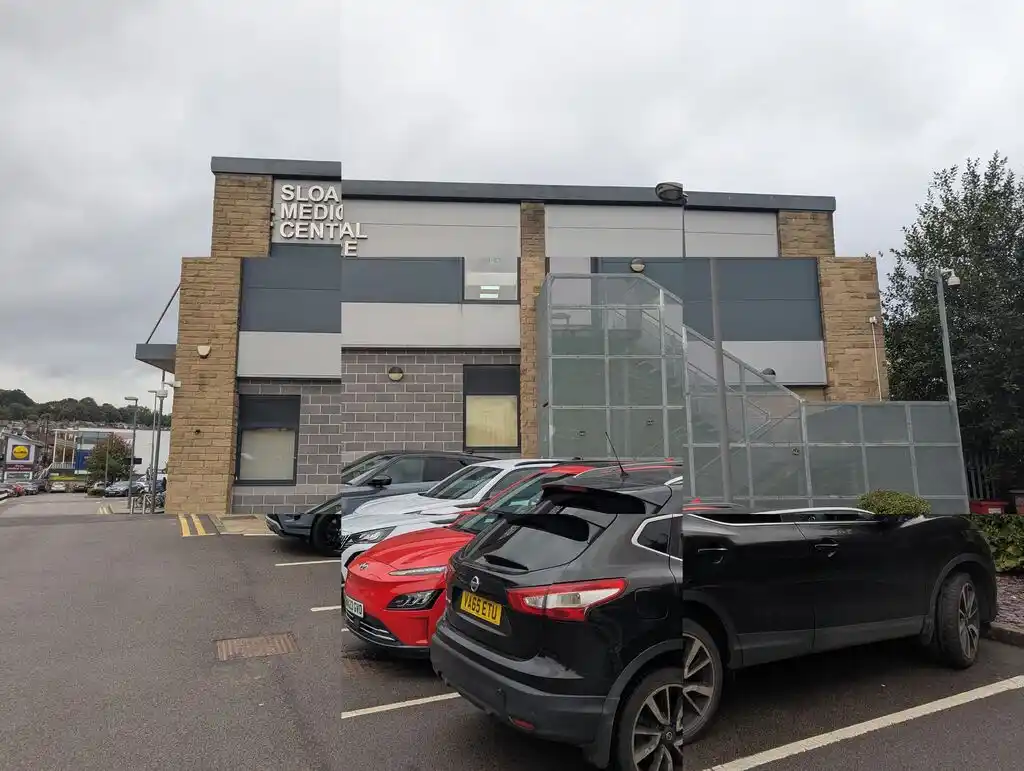
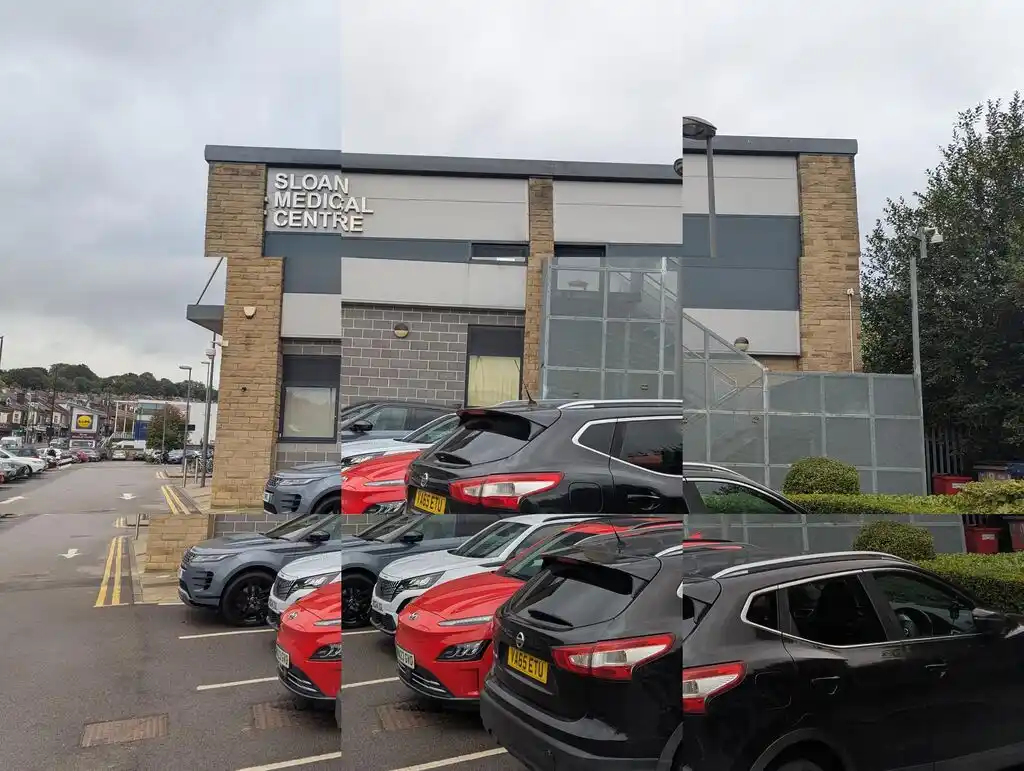
- alifeee - collaging pictures
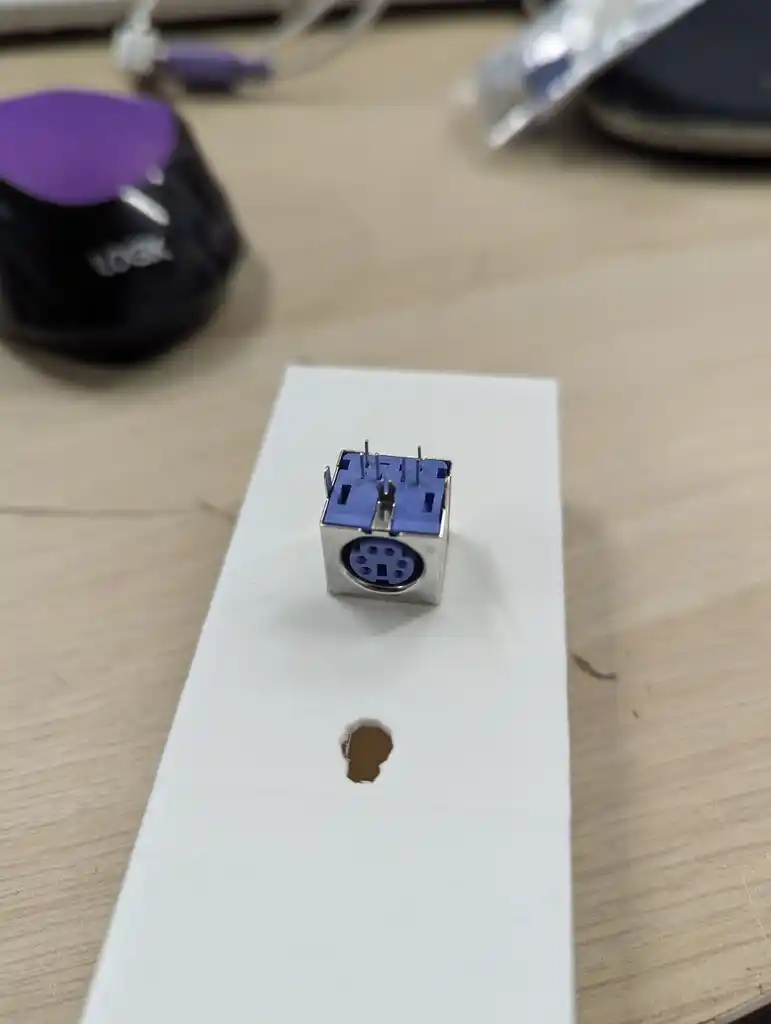
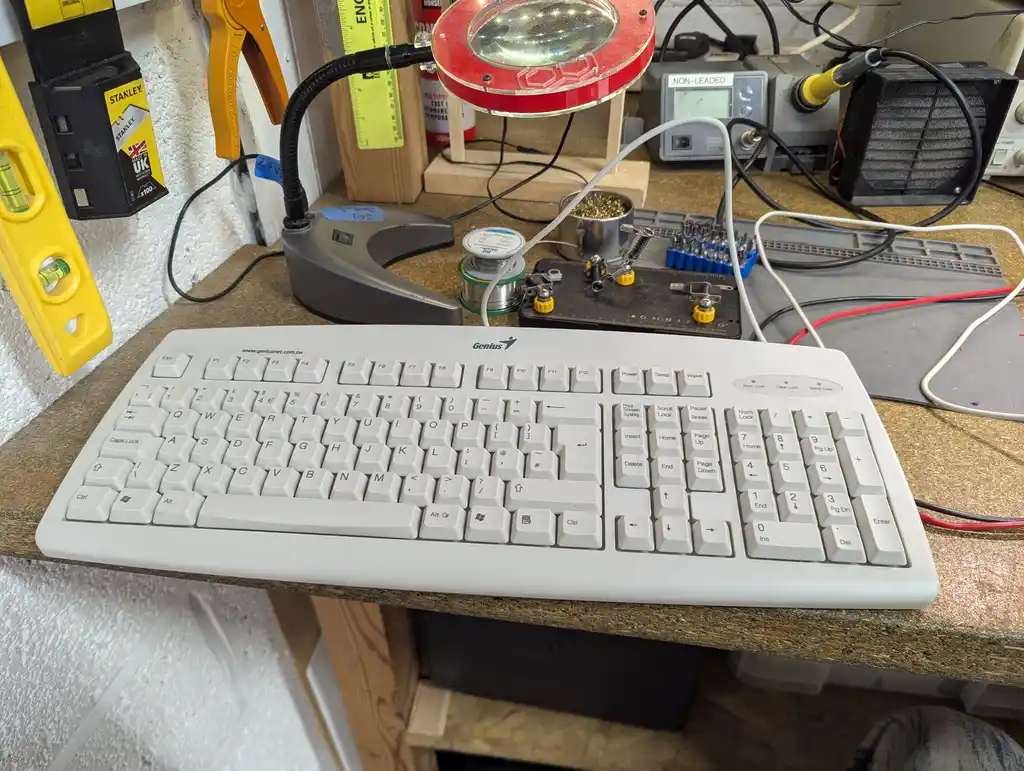
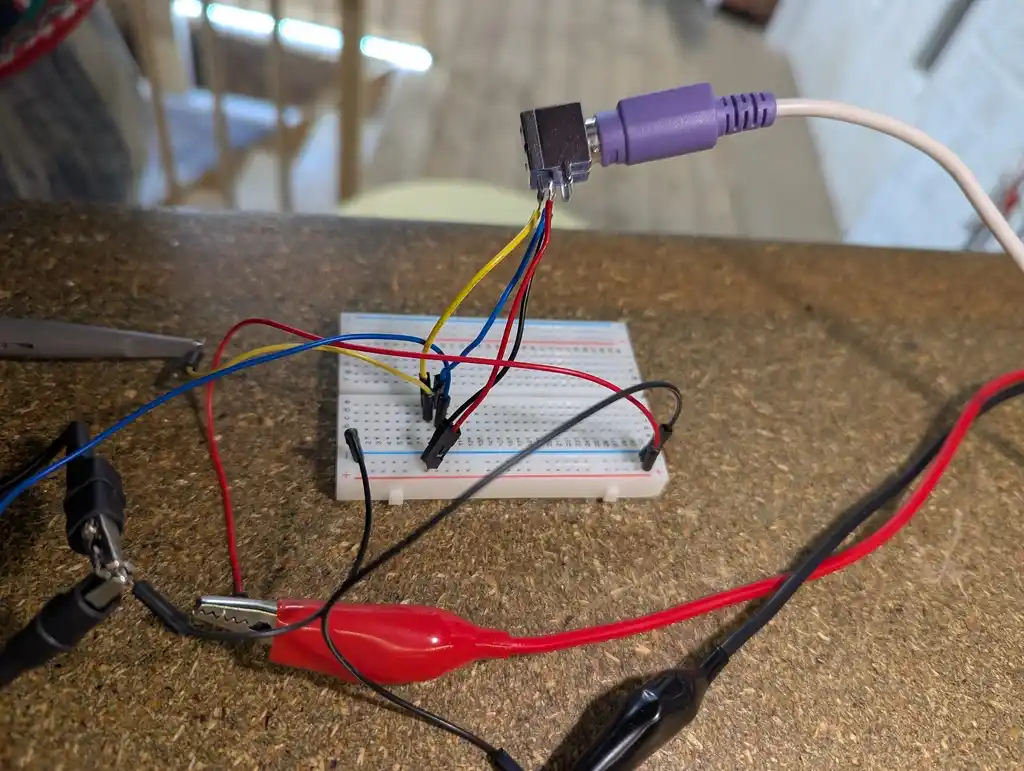
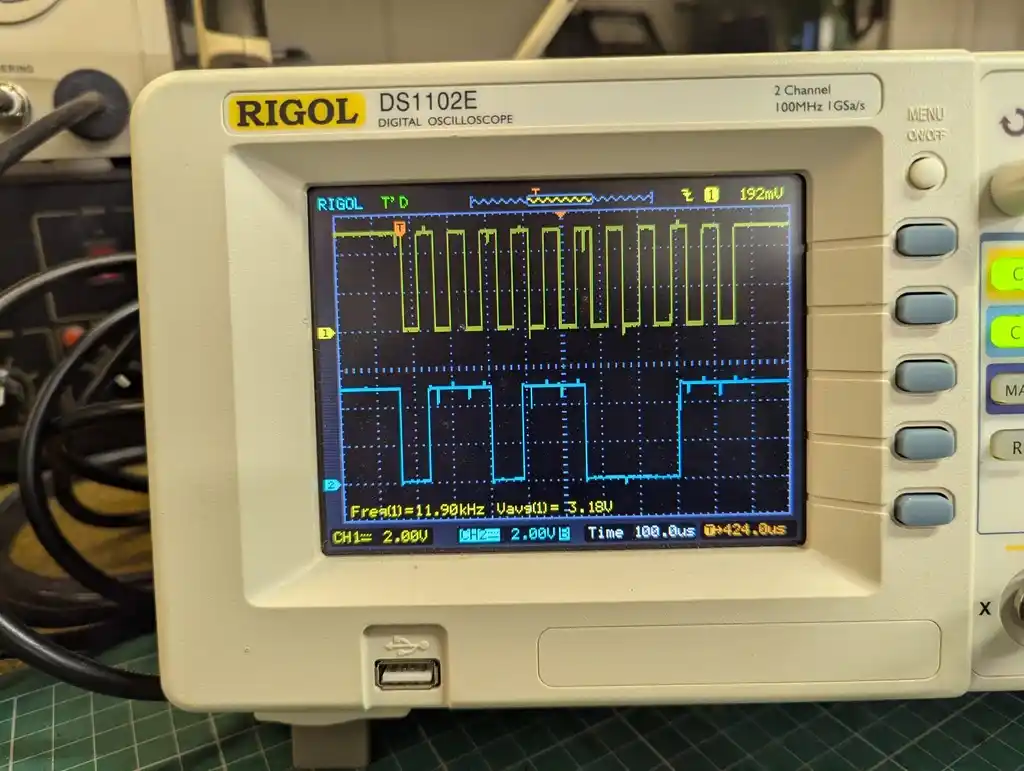
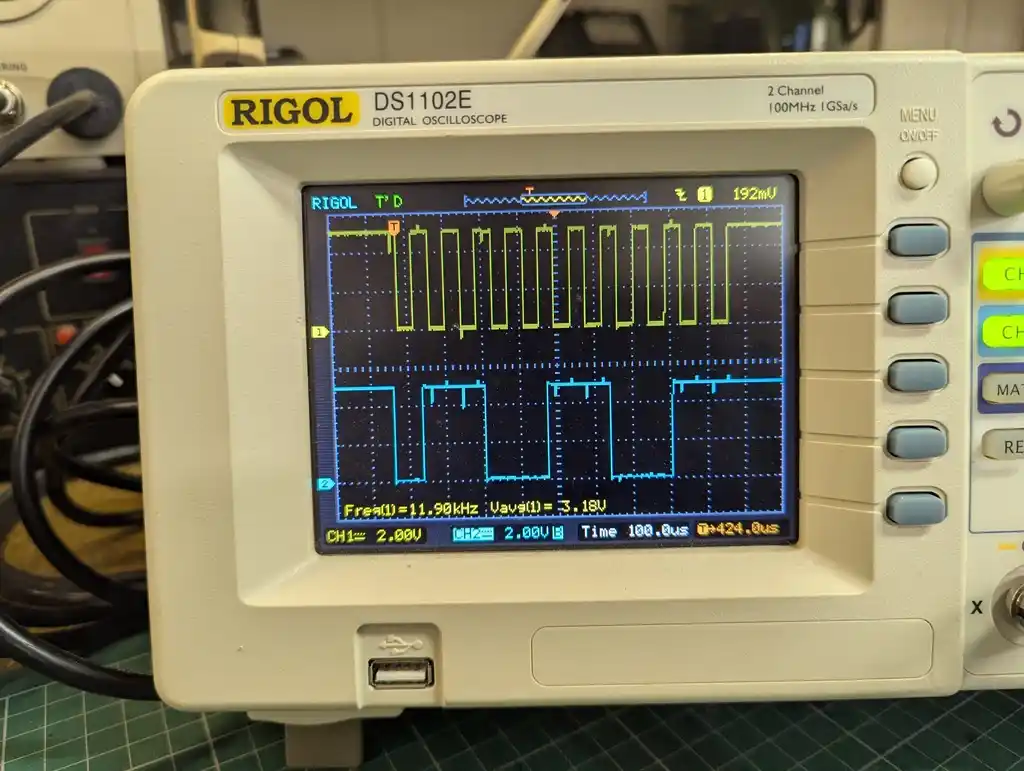
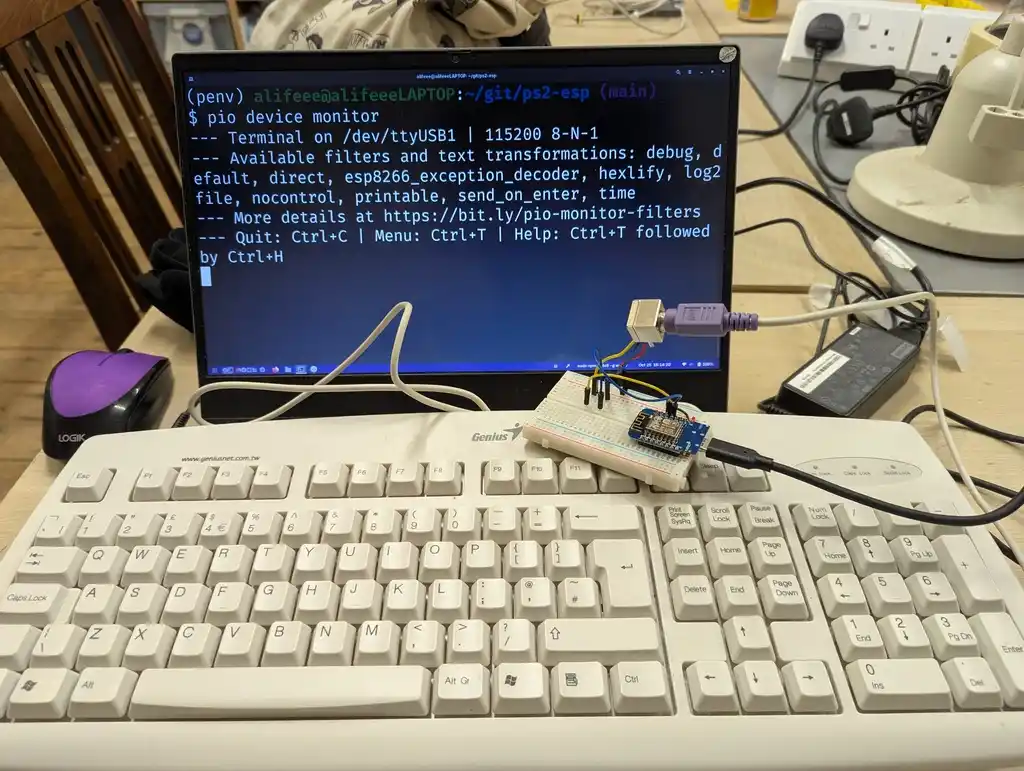
- alifeee - talking PS/2 with an ESP
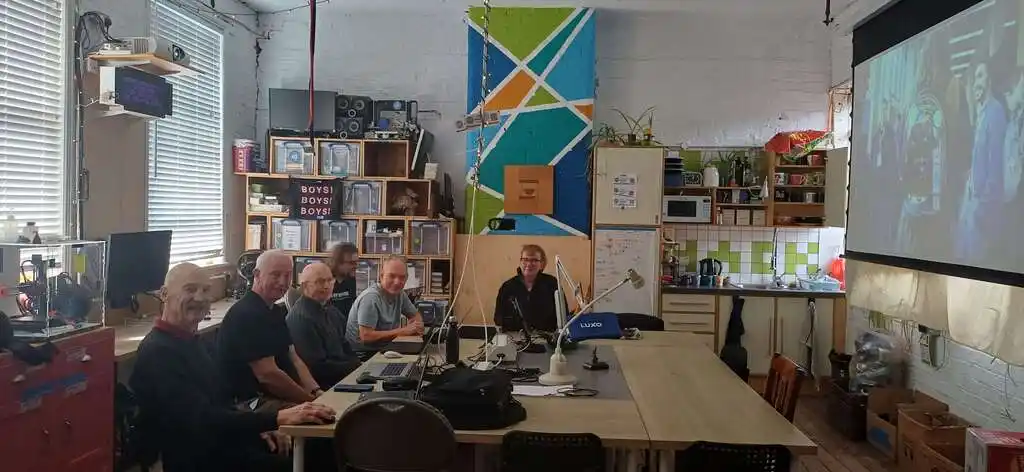
Alan - CAD course for SU3A members
The beginners CAD for Sheffield University of the third age (SU3A) completed the short course of talks and was a successful series events.
Tom - LED panels
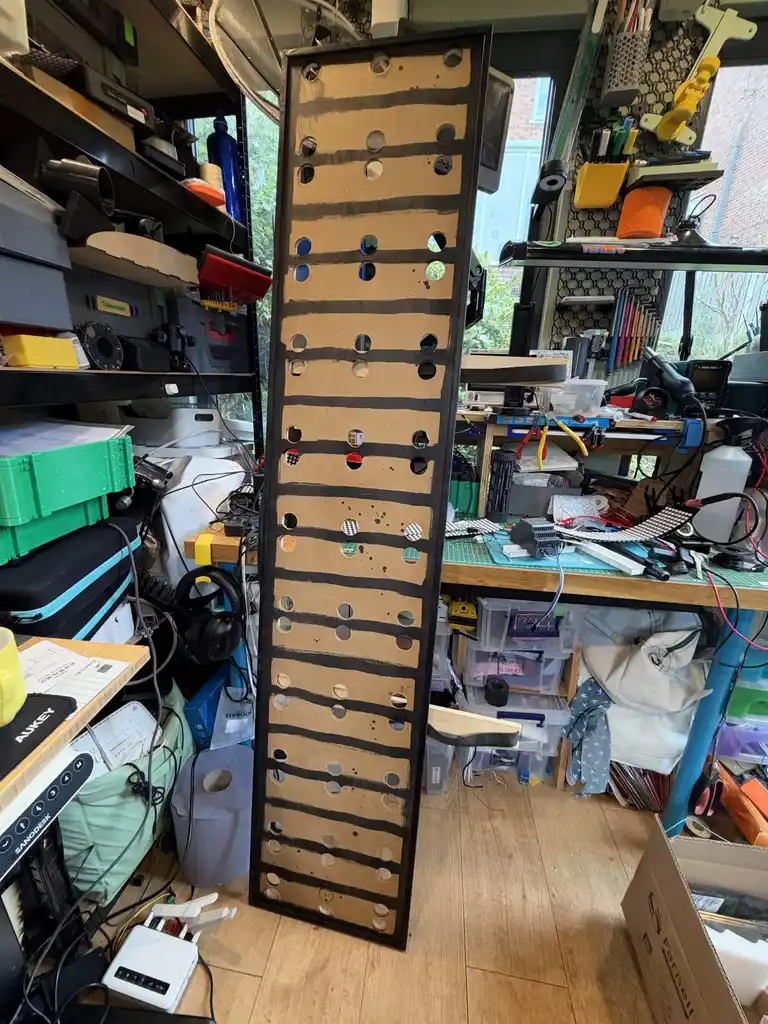
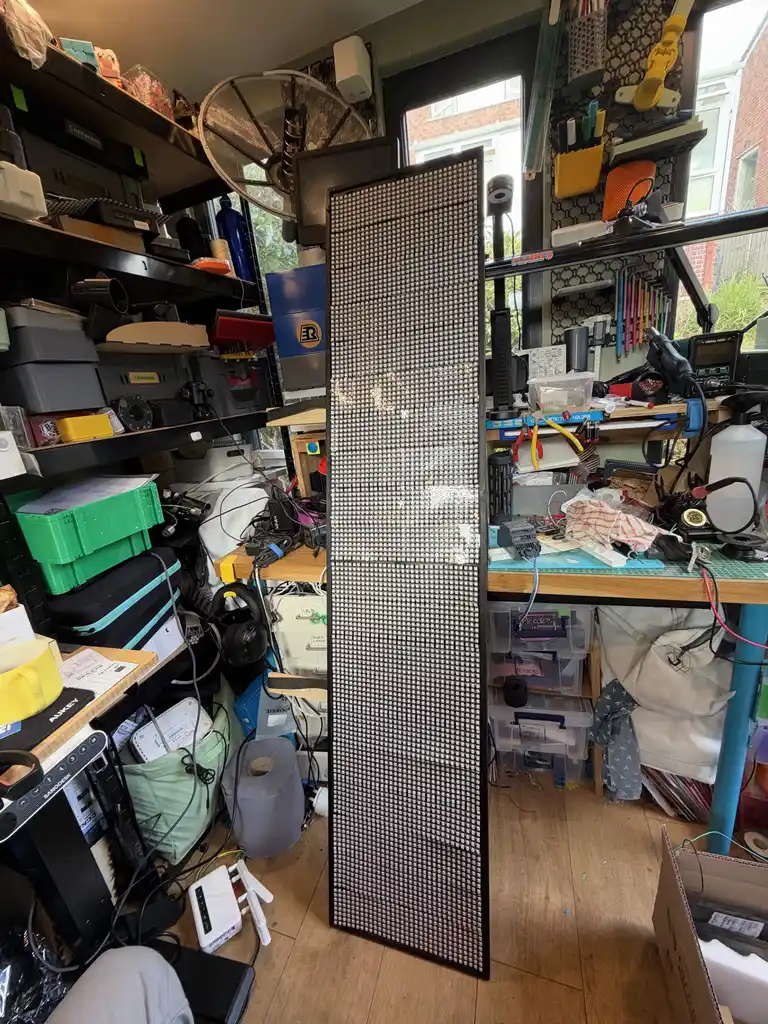
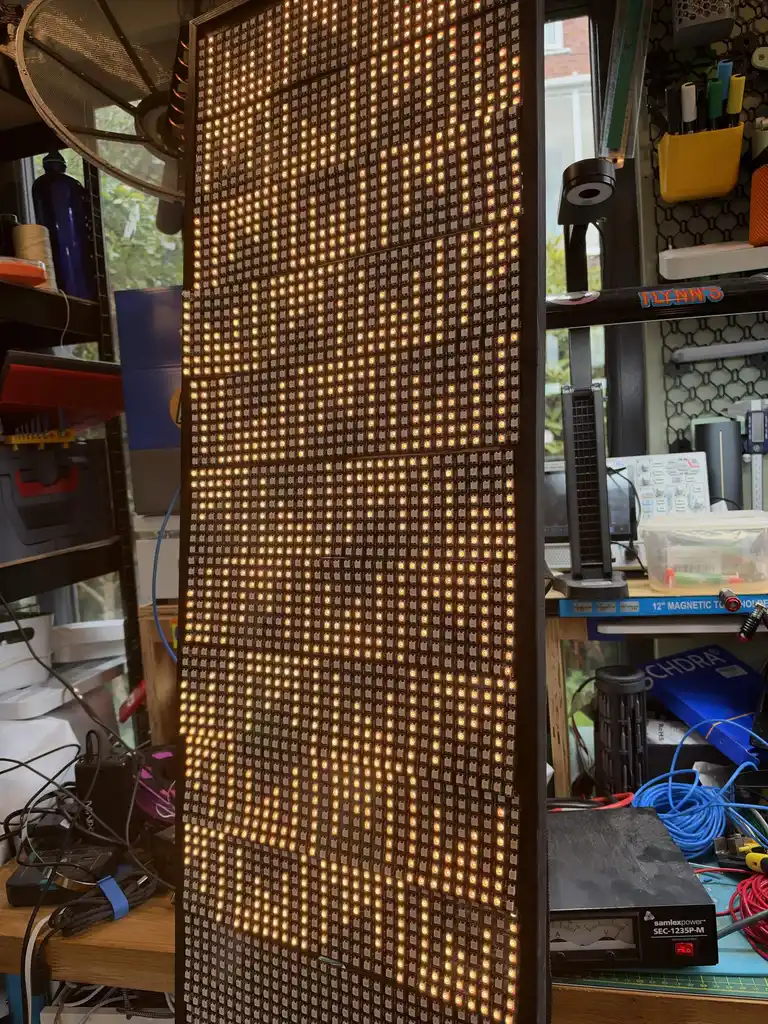
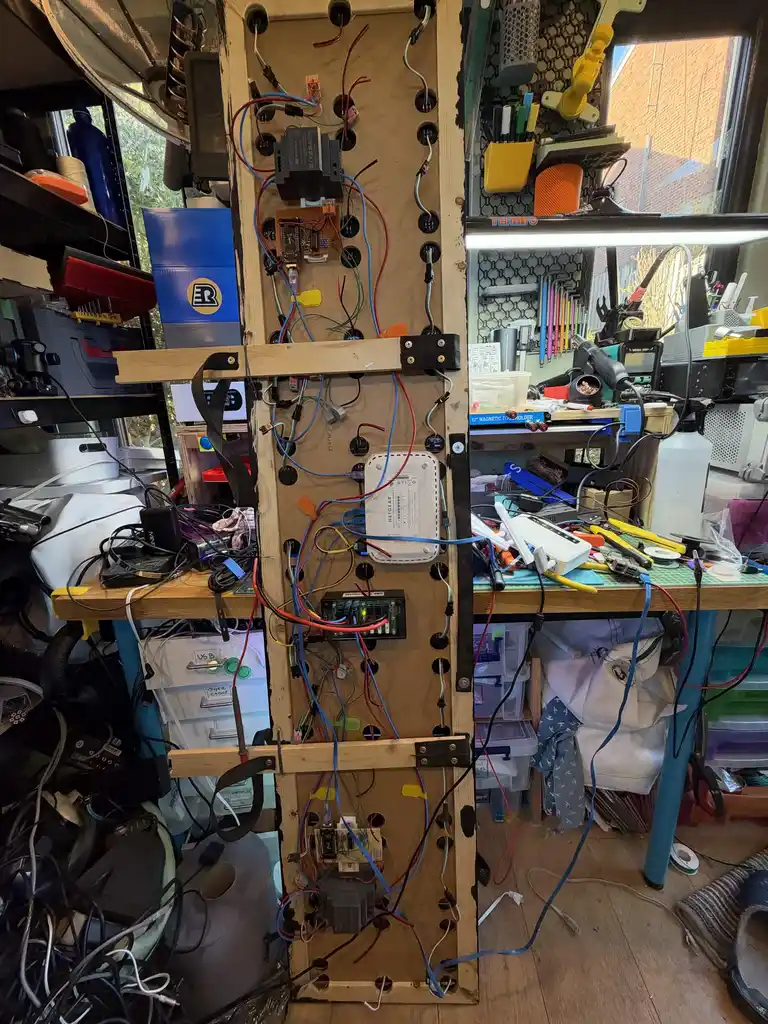
Tripped over a bunch of LED panels I bought ages ago, have a demonstration to give this weekend. Built an LED wall.
Featuring the degrading state of my workbench as I panic build during the day.
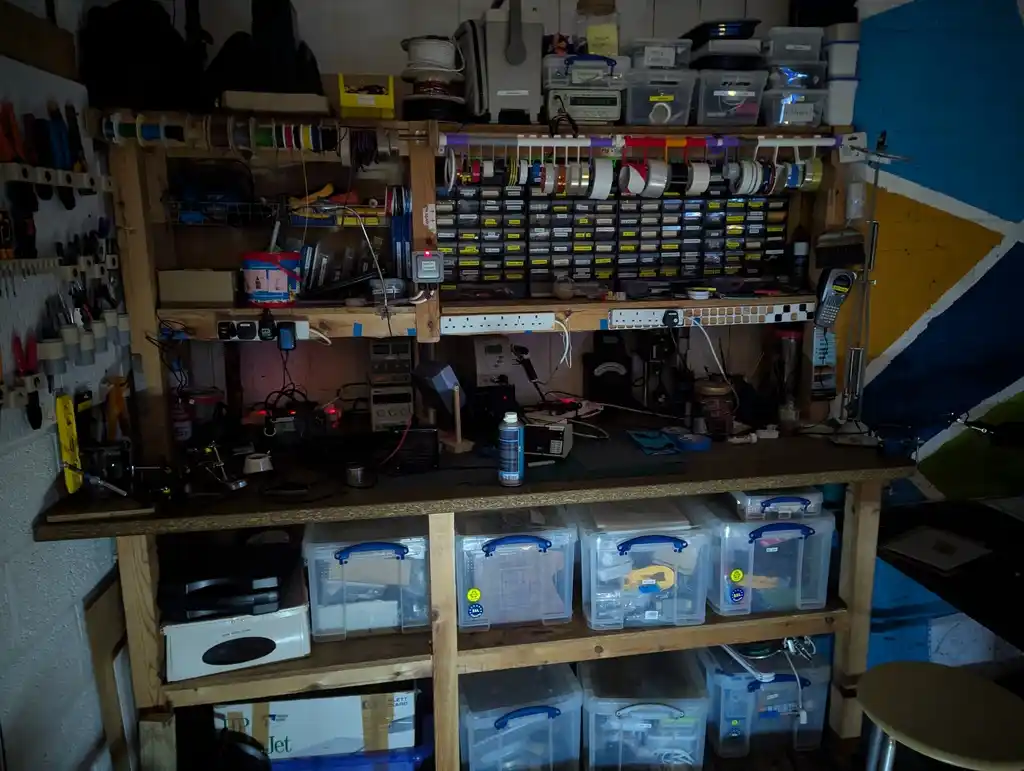
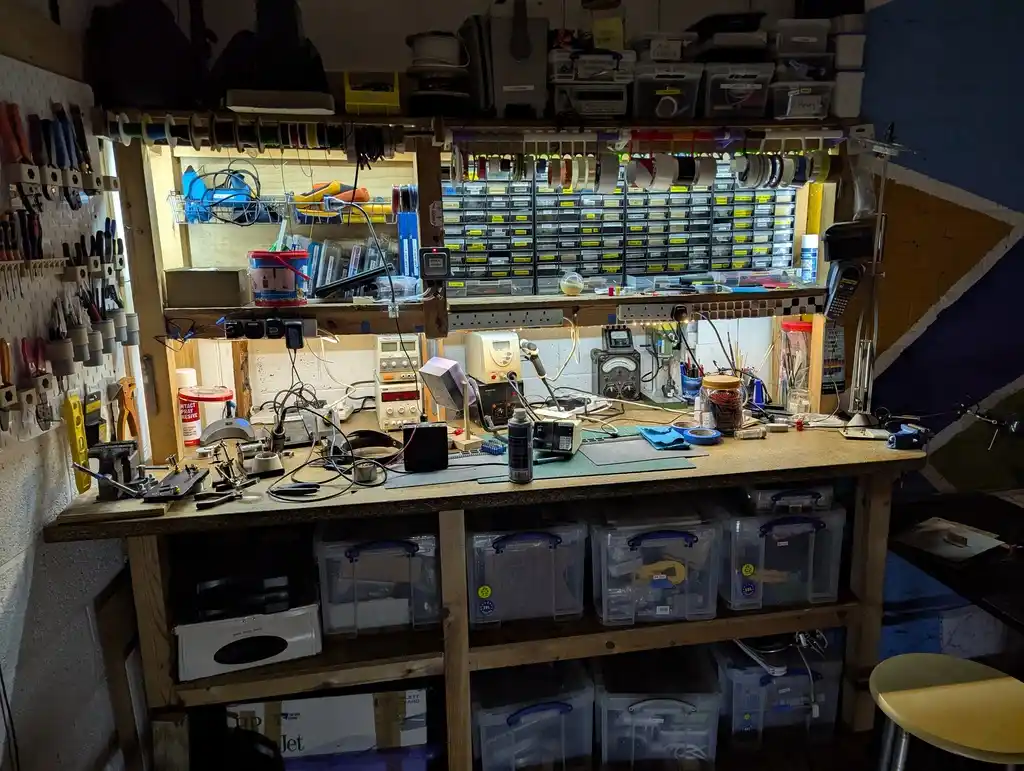
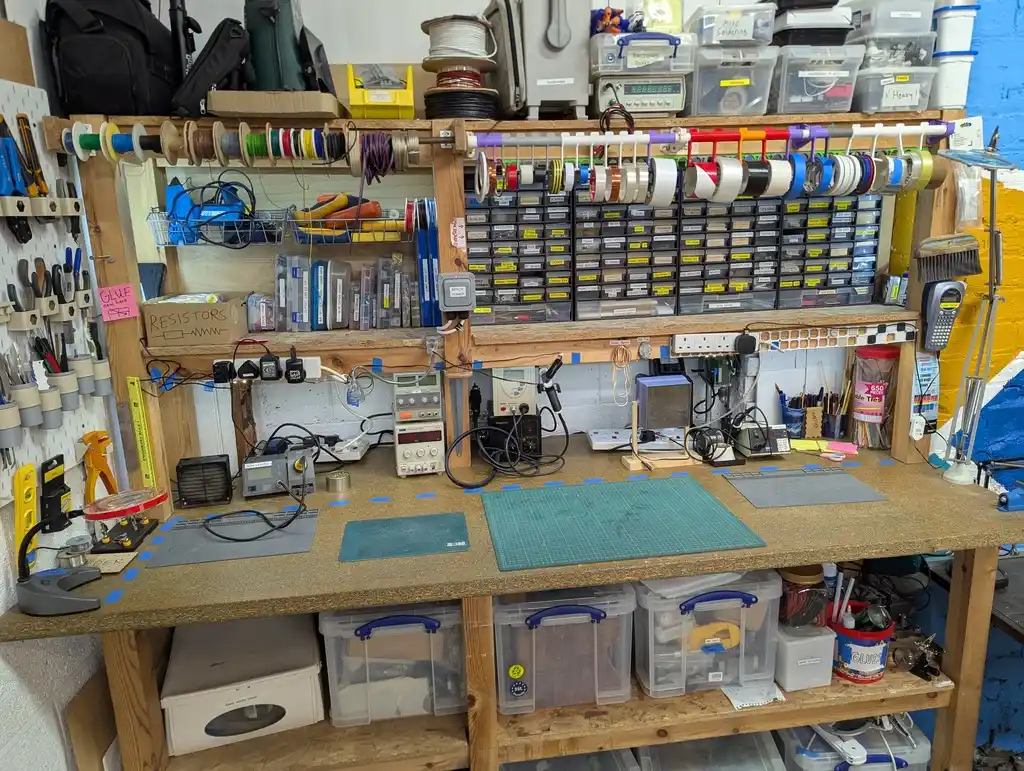
alifeee - tidying and lighting up the electronics workbench
Dark. Light. Tidy! The wonder that LED strips can affect.
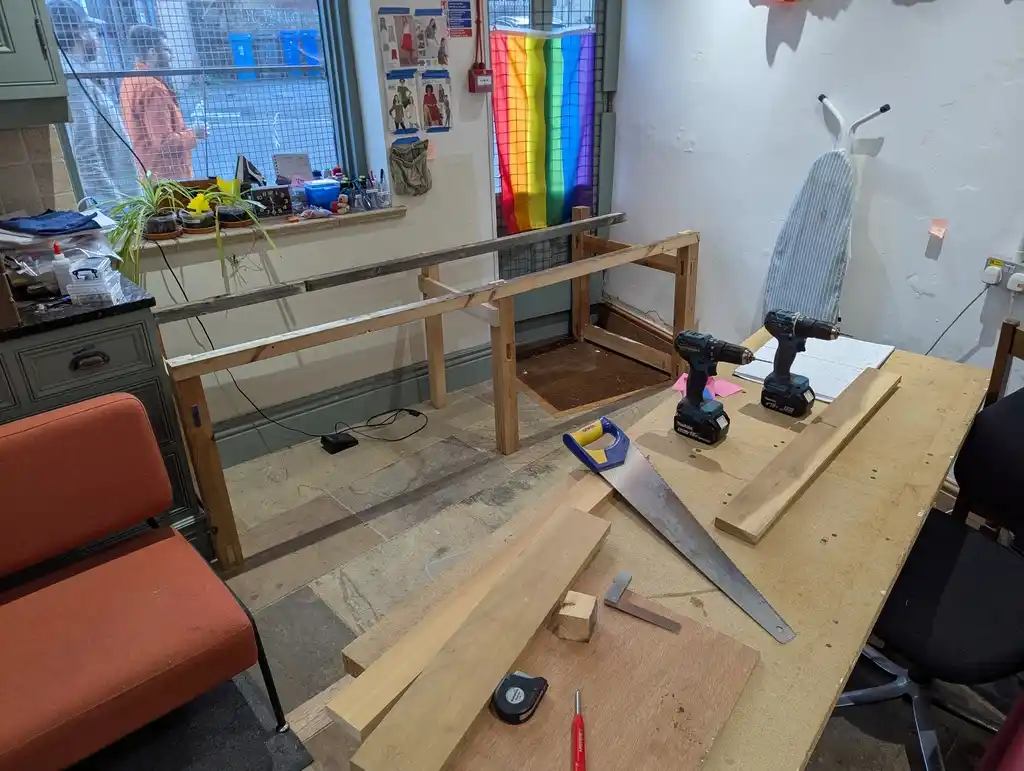
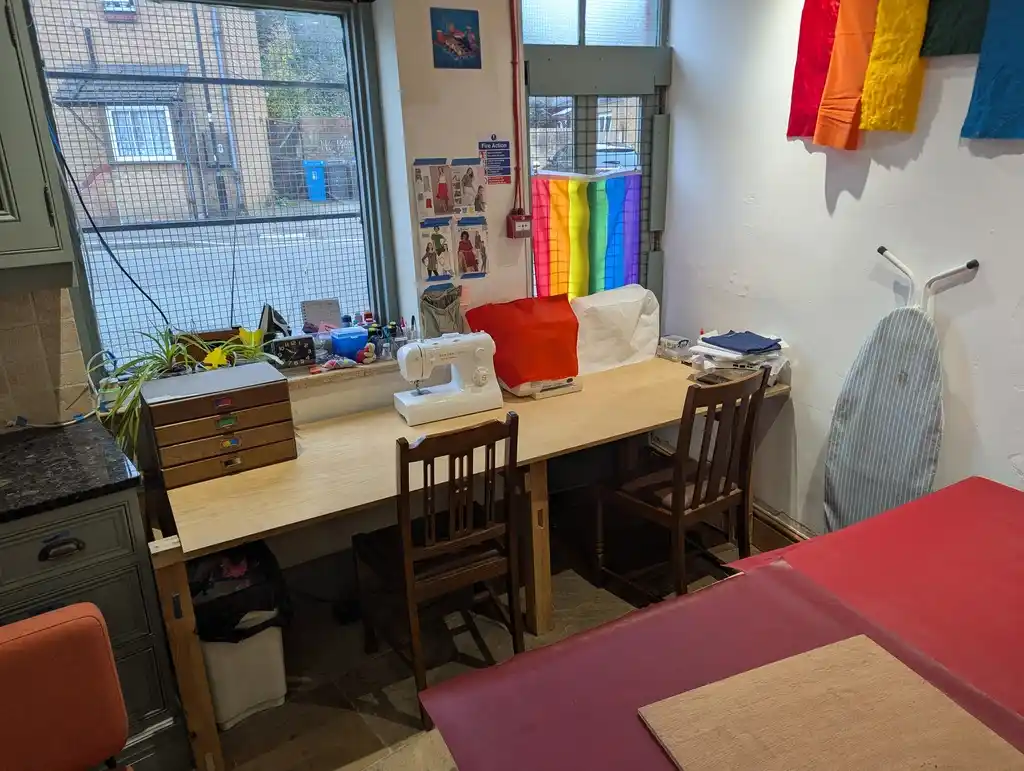
Robin - craft room table
I have finally gotten around to finishing the table for the textiles room. As per usual, there are lots of instances of “measure once, cut twice”, which I will slowly correct over the coming weeks.
For now, it’s fine to use and should hopefully be a bit better than the previous table.
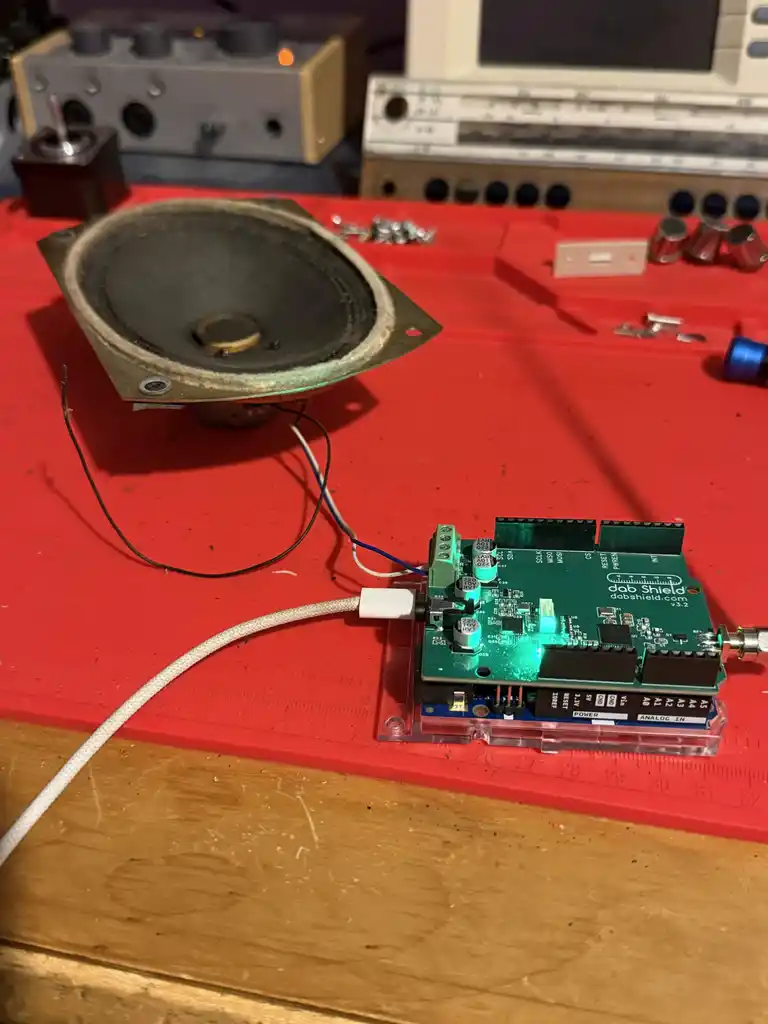
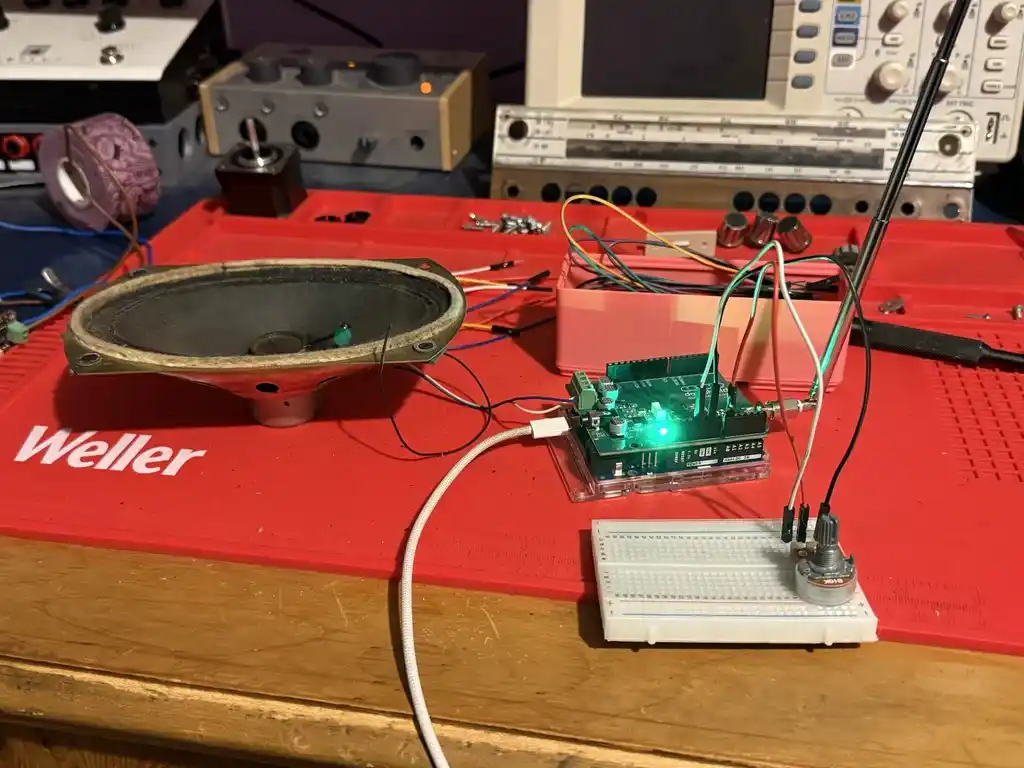
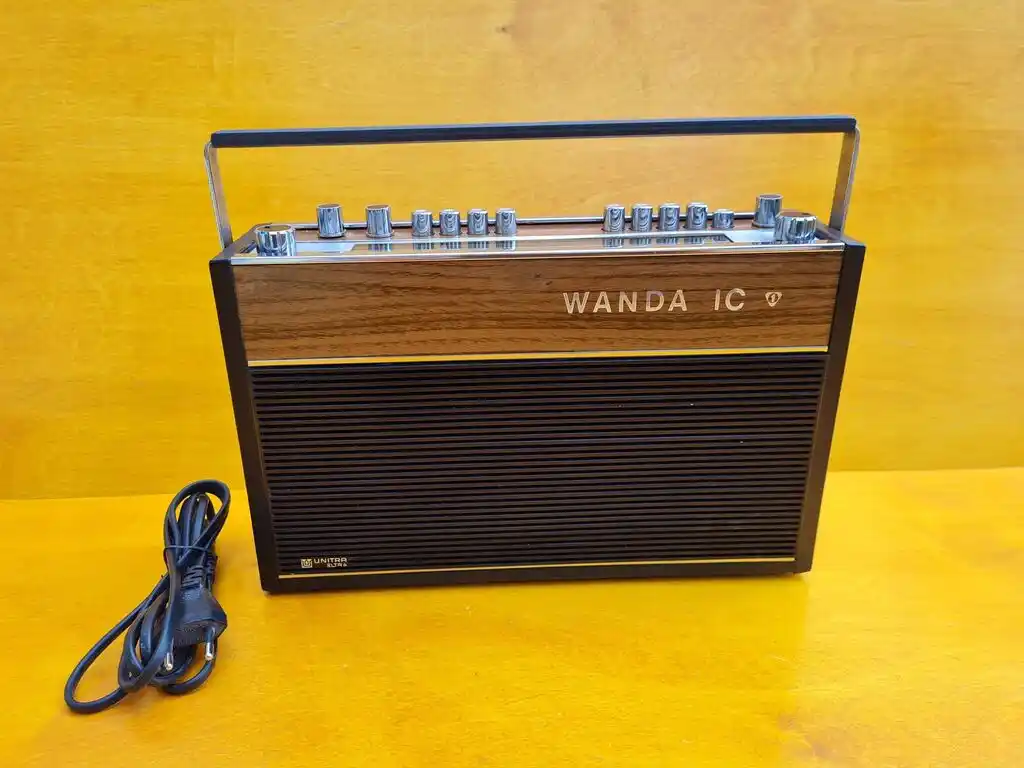
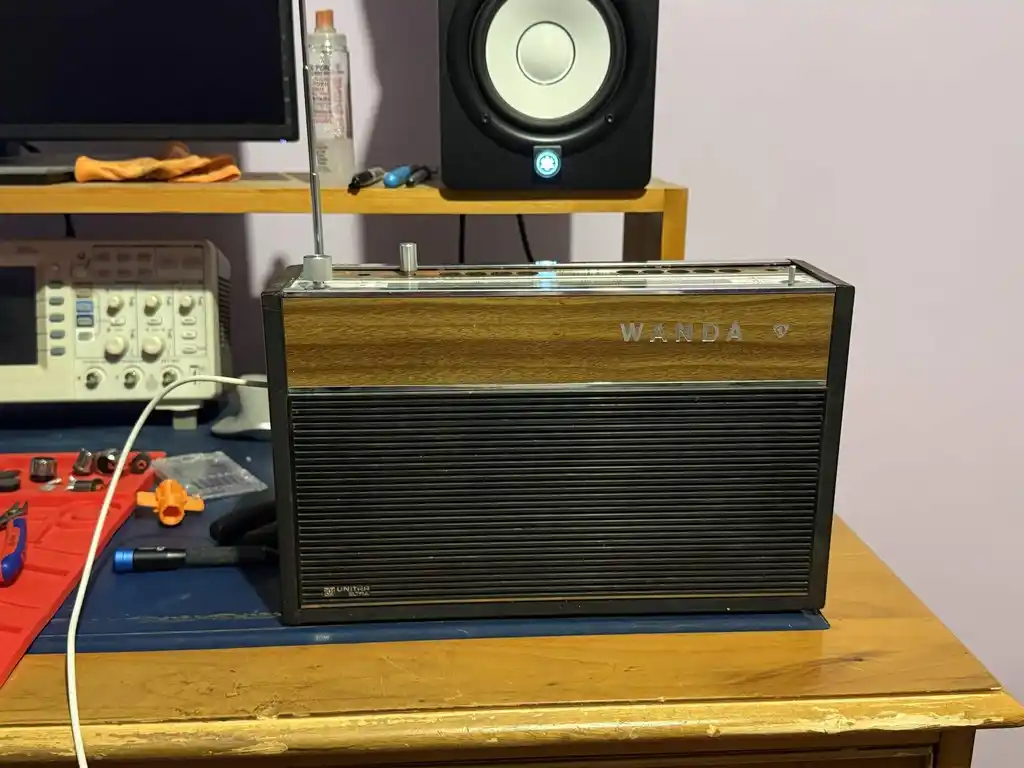
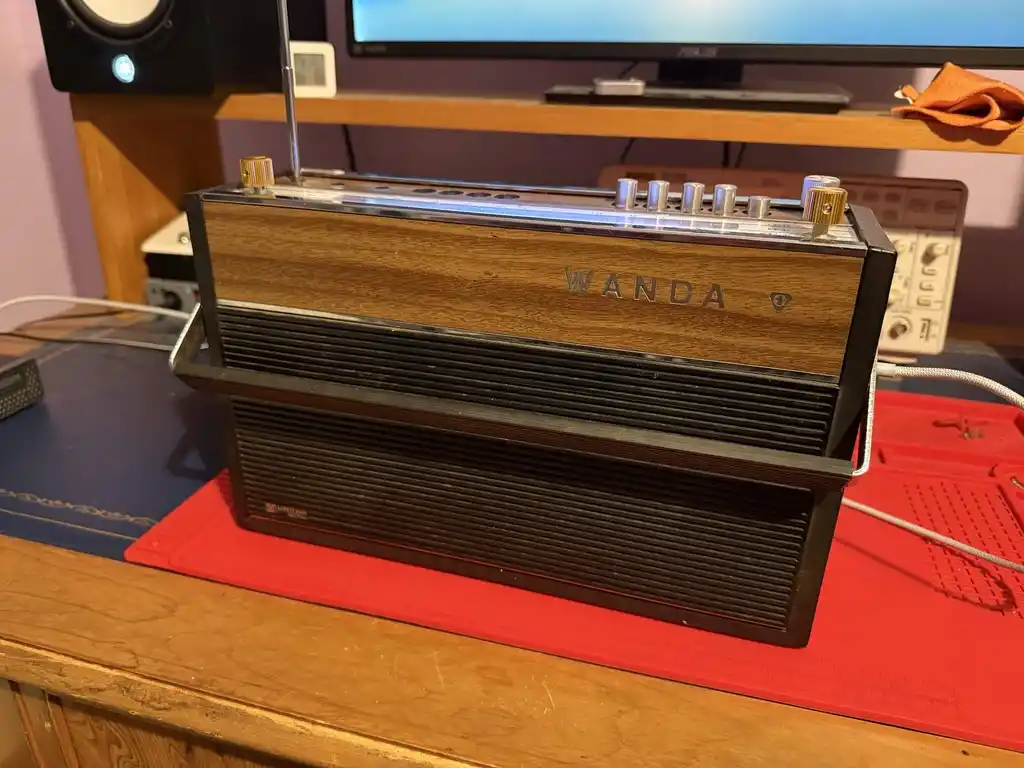
Adam - retrofitting an old radio
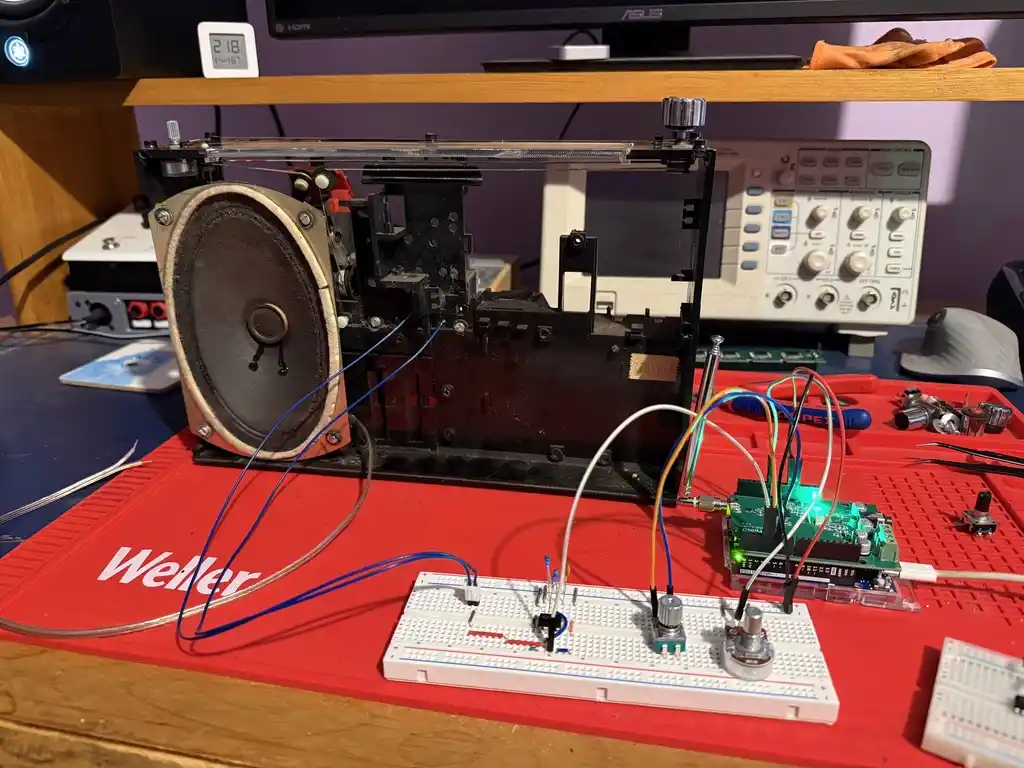
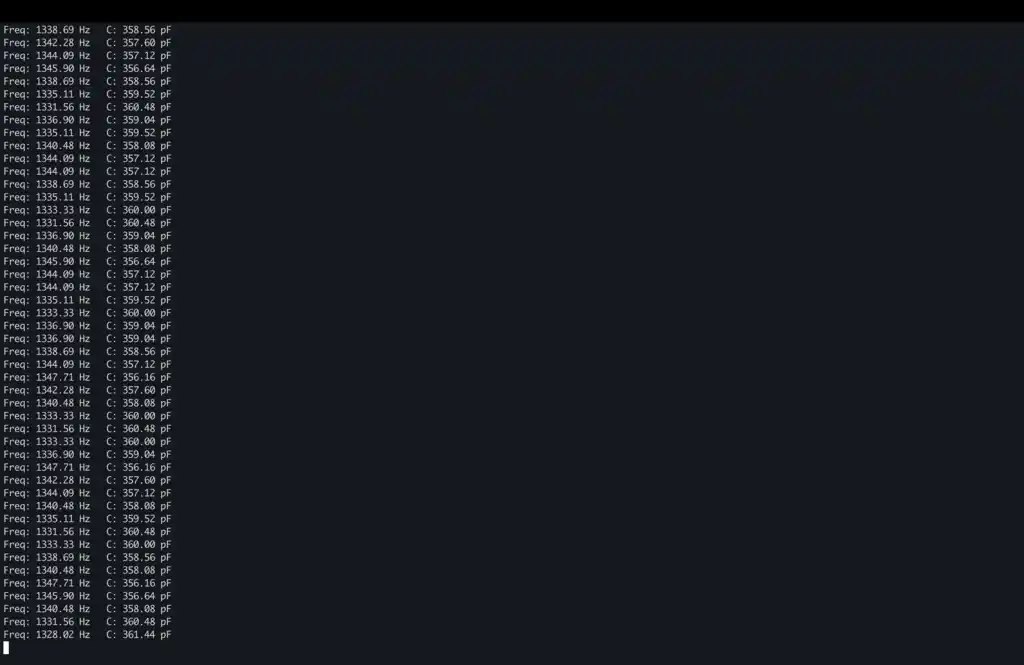
Today I learned how to measure the capacitance of the tuning capacitor used in the old radios for… well… tuning. Given the stability of the readings, I cannot use it for switching between radio stations. There are sometimes a 130+ stations being detected by the DAB shield, and maybe ~25 stable discrete values of the tuner knob.
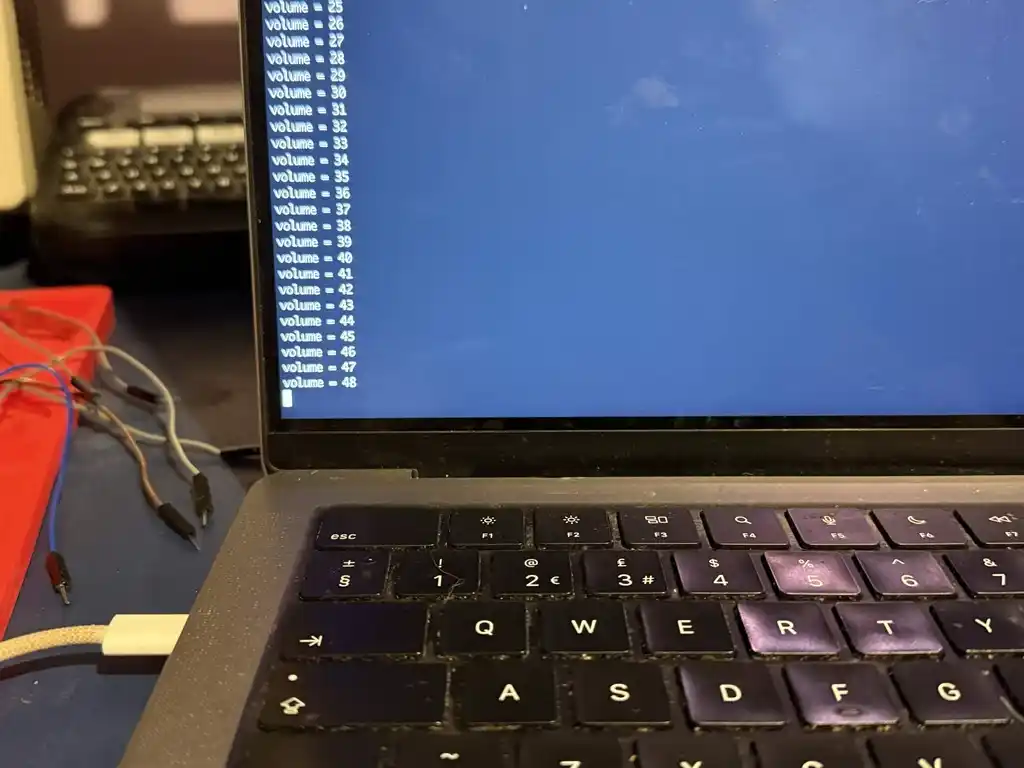
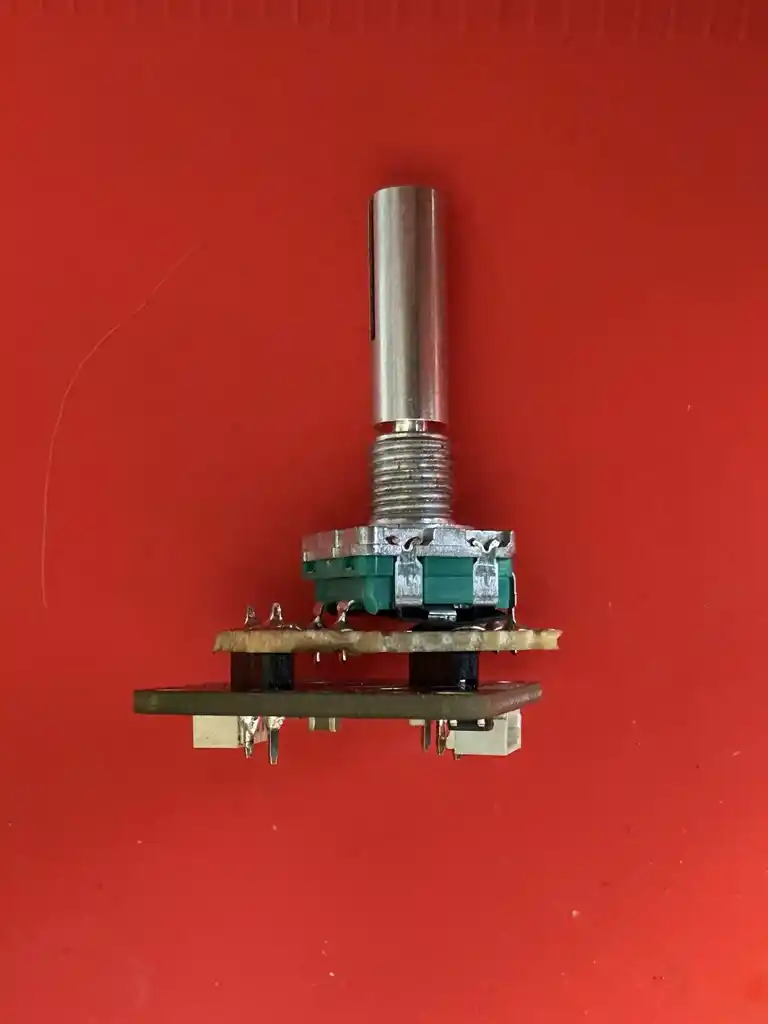
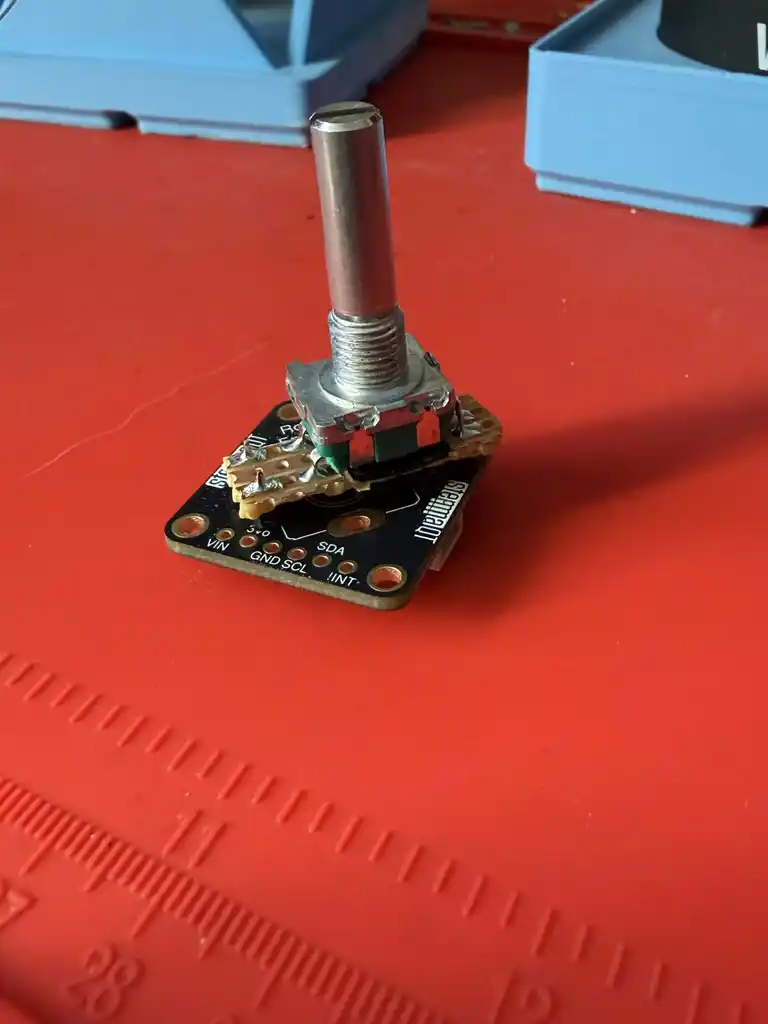
I will therefore use the tuner knob to switch between ensembles (groups of radios in DAB systems) - there are usually around 5-6 detected. I will use an extra rotary encoder where a “fine tuning” knob was before, to switch between the stations in the ensemble. And finally I will use a standard analog pot for volume.
Next steps:
- Need to adjust the code to work with the above design choices
- Get a rotary encoder and a potentiometer with longer shafts
- Get breakout boards for the above
- Install the controls in the chassis
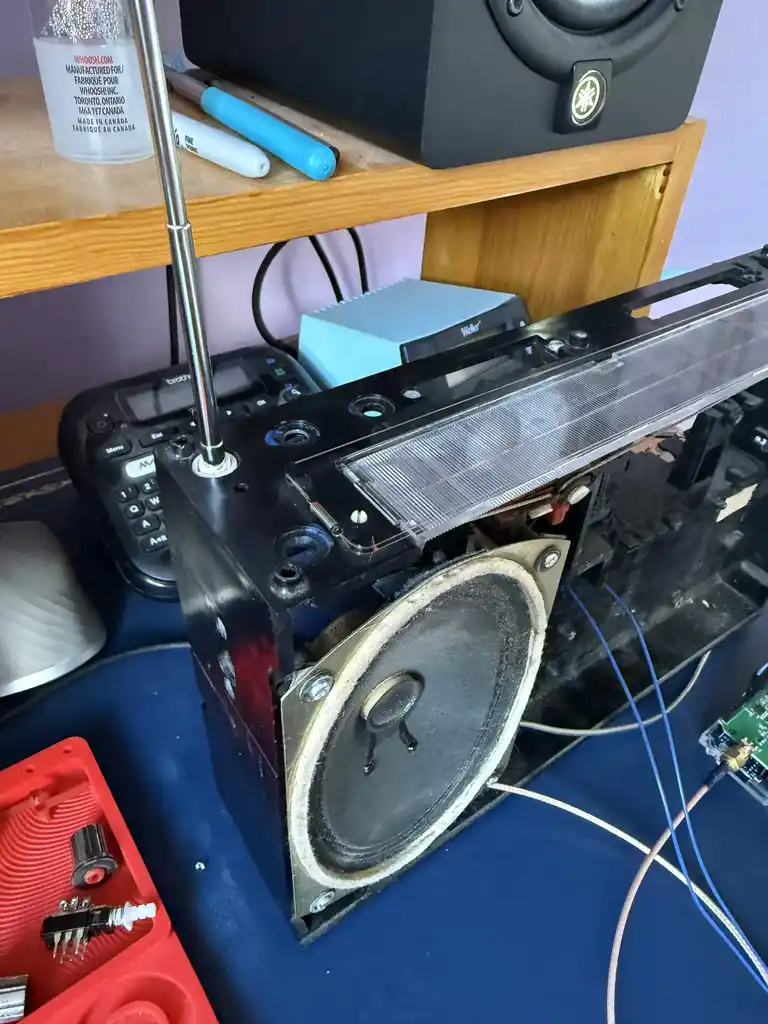
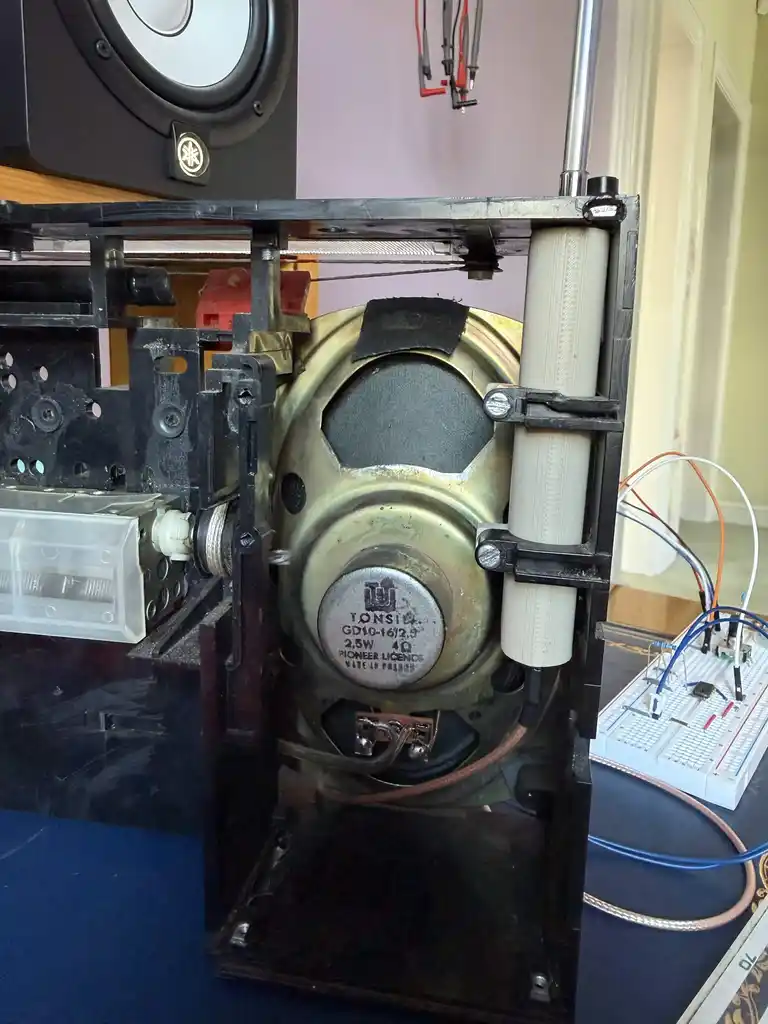
I designed and 3D printed a mount for the new aerial.
Nice breakout board you have there. It would be a real shame if someone would try to actually use it in a project.
It’s really great that we want to have shiny and symmetrical designs for general purpose breakout boards, but it is not desirable all the time.
Last problem with the radio has now been solved ❤️
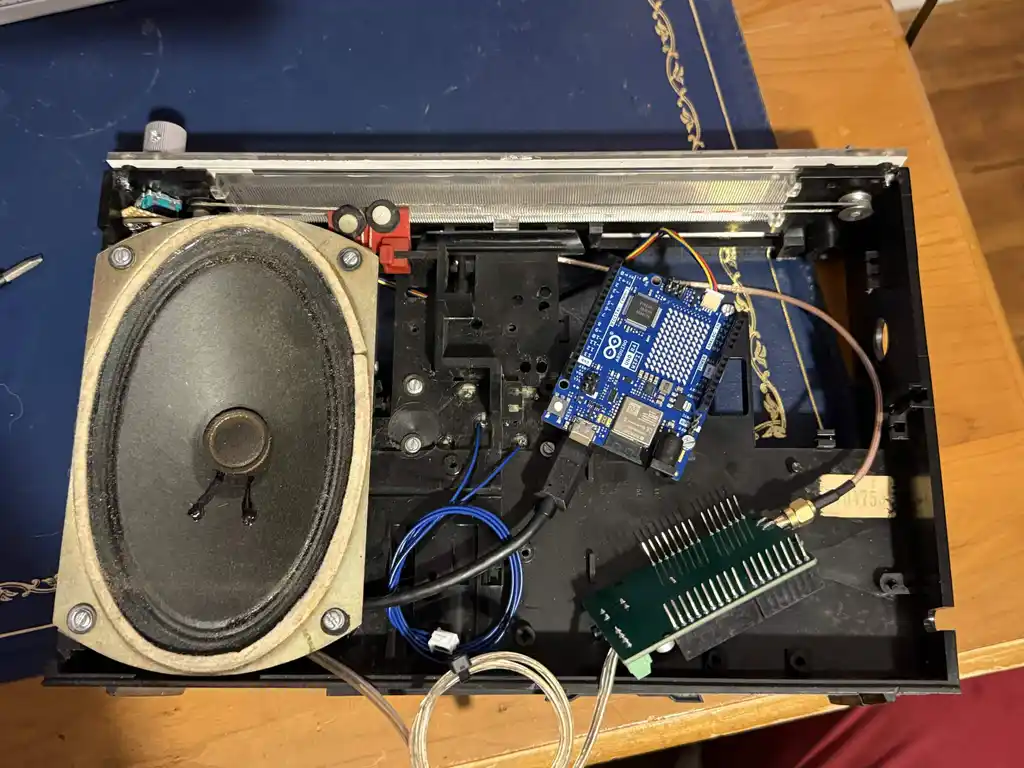
By a weirdest coincidence the 2 mount points inside the case that were exactly where I needed them fit arduino uno like a glove.
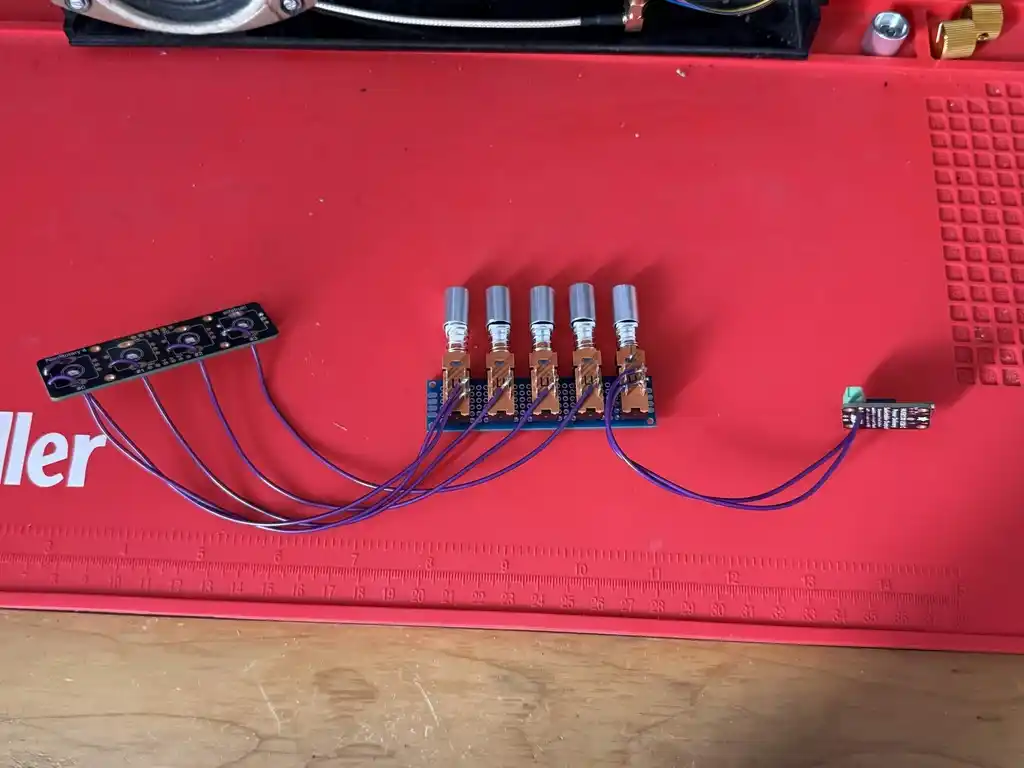
4 momentary switches for favourite stations, 1 latching switch for on/off. I think I have sorted out everything I needed hardware-wise. Now just some extra coding and we should be done.
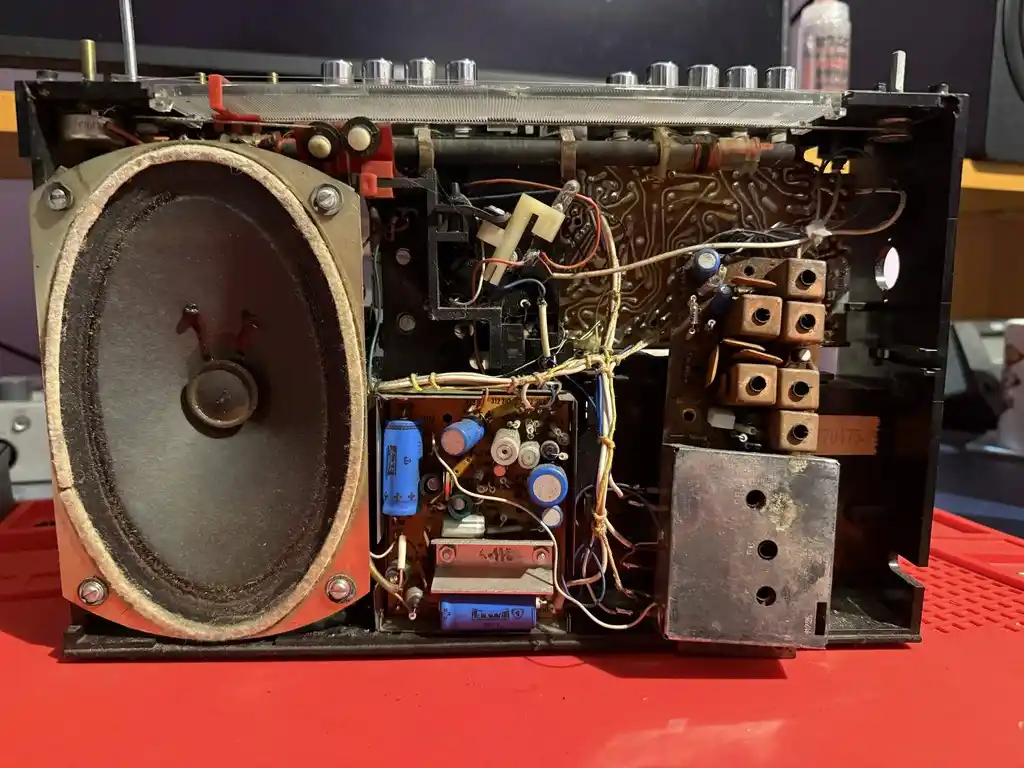
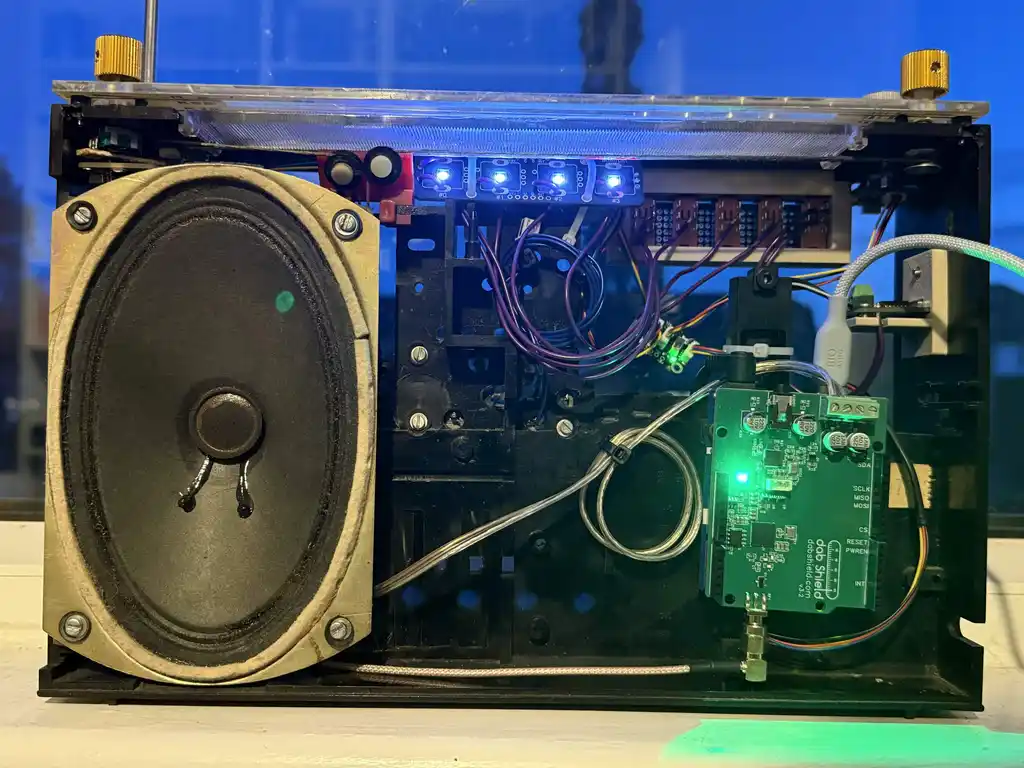
Radio conversion full update:
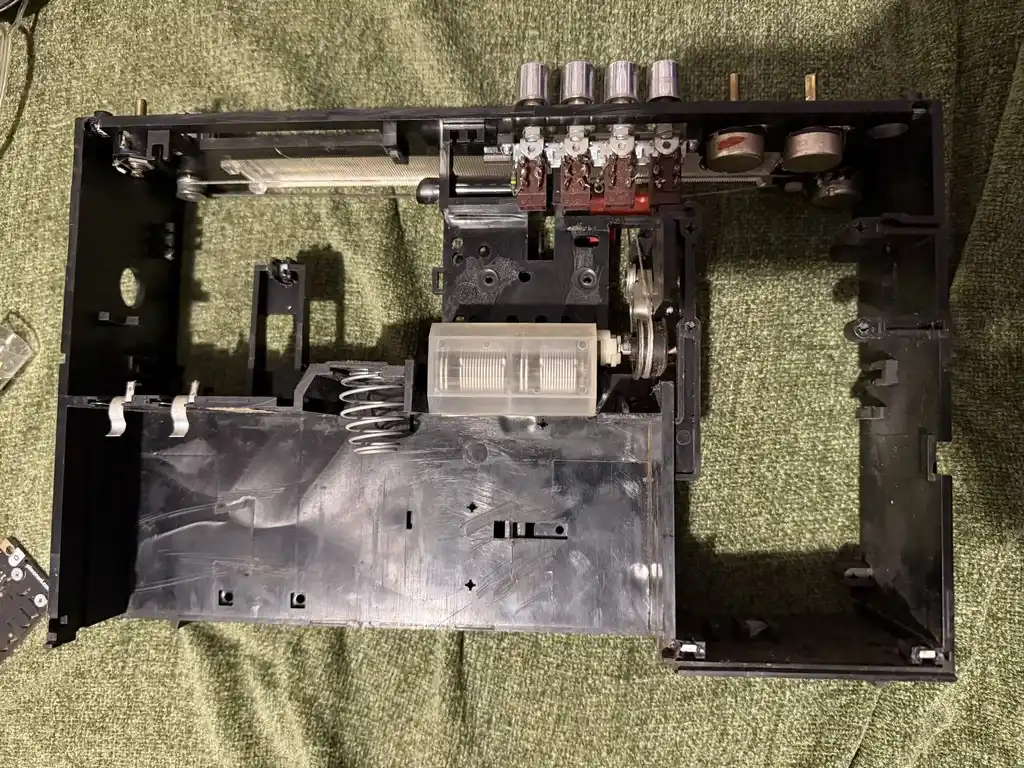
- the original electronics have been gutted, leaving only the tuning capacitor mechanism intact
- the original speaker has been rewired and reused with the new circuit
- DAB aerial has been installed using designed 3d printed mount
- Adafruit USB-C PD breakout board is used for for charging, installed using designed 3d printed mount
- Ferrite core is installed between the breakout and Arduino, to reduce interference from USB-C chargers being garbage
- Arduino Uno R4 WiFi has been installed in place by drilling into the inside chassis and melting in M3 inserts
- DAB Shield has been used for the radio functionality
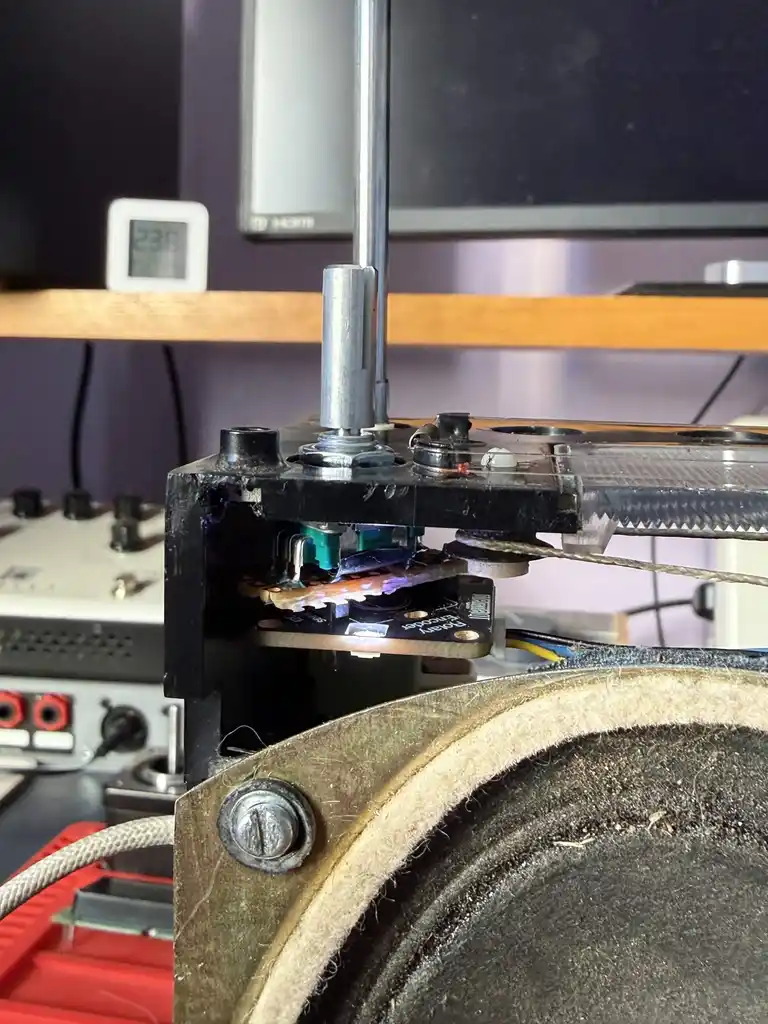
- Adafruit Rotary Encoder breakout boards have been cut down or otherwise modified to fit the space and provide volume and station control
- Long press (> 3s) of the station encoder will trigger station scan
- Press of the volume encoder will toggle mute
- Adafruit Quad Rotary Encoder breakout board has been used to provide indicator lights and buttons
- 4 momentary switches have been used as favourite buttons and have been wired to the quad rotary encoder board where encoder buttons would normally be
- Short press on the favourite switch will recall saved radio station
- Long press on the favourite switch will save current station to the pressed button
- A latching switch has been wired to the PD board to provide On/Off button
- Buttons have been installed using designed 3d printed mount in the original location
Improvement ideas:
- add a display
- add a battery
- make indicator light animations based on the state changes
- reuse the tuning capacitor for tuning
- add a headphone out
- add a programming port in the back
- connect to homeassistant?
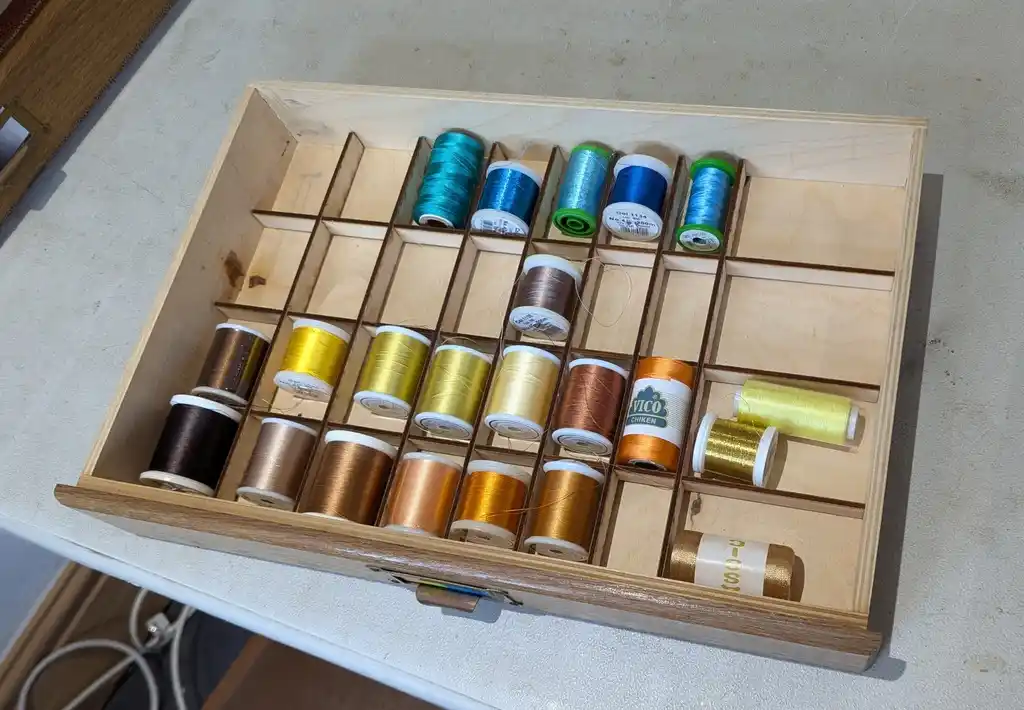
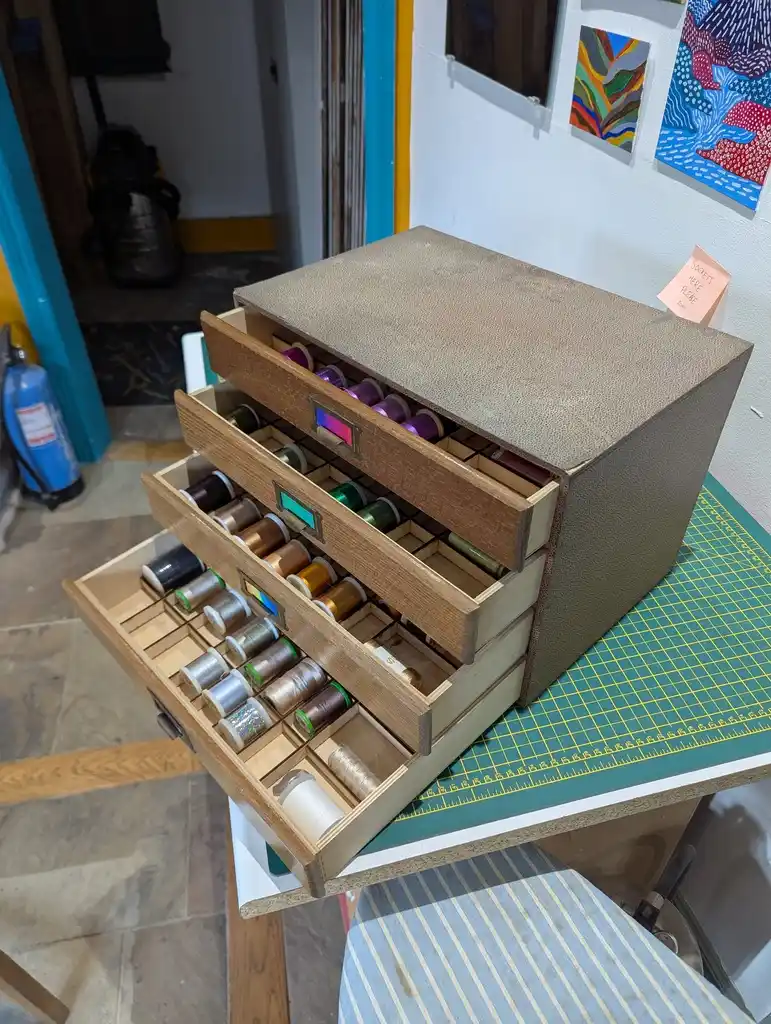
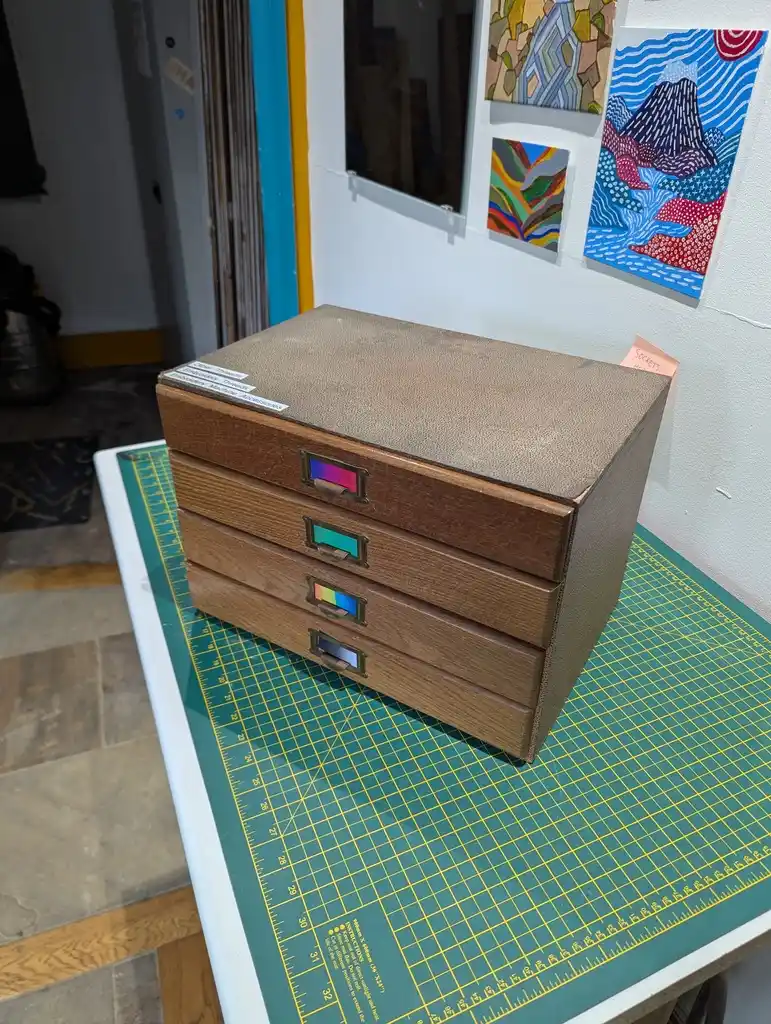
alifeee - drawer inserts for effective storing of thread
We have a lot of thread, mainly from the embroidery machine. I laser cut these drawer inserts (custom sized, made with https://boxes.hackerspace-bamberg.de/). It’s very satisfying, in the end.
Primm - custom twinkly LED board
I know I’ve been quite busy, but I finally finished a project! It’s mostly some PCB art, but it doubles as a fidget toy with twinkly LEDs and clicky buttons. It was an anniversary present.
Write-up and photos here: https://primmr.dev/projects/radial-pcb/
Ellie - making a creepy animatronic doll
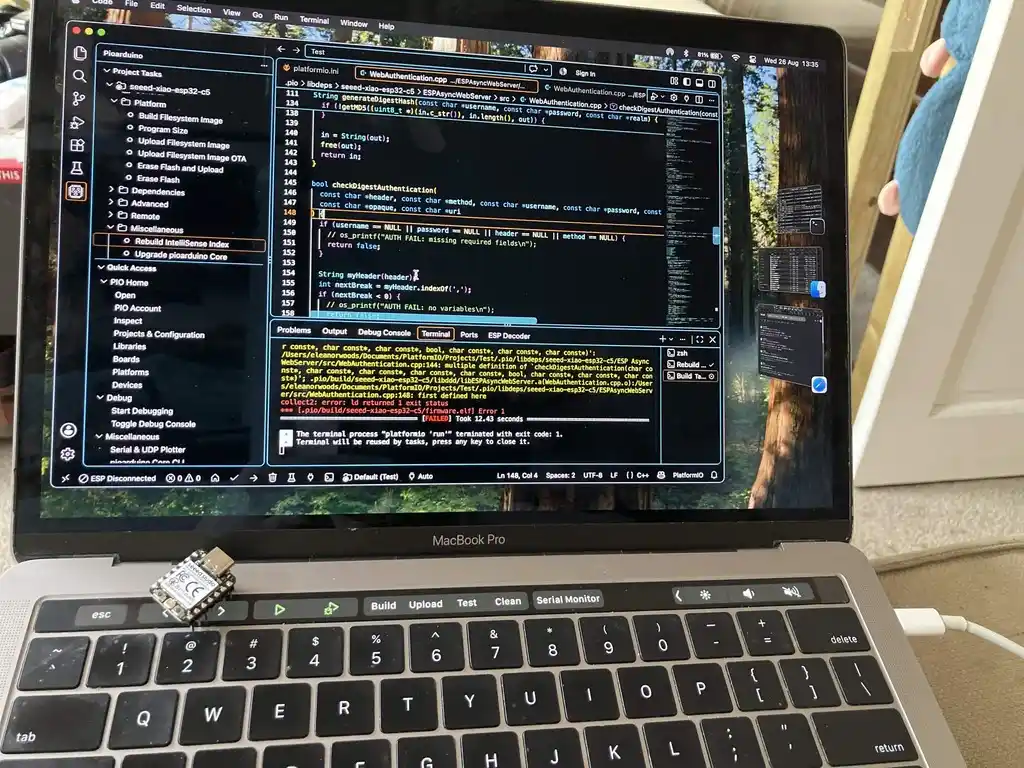
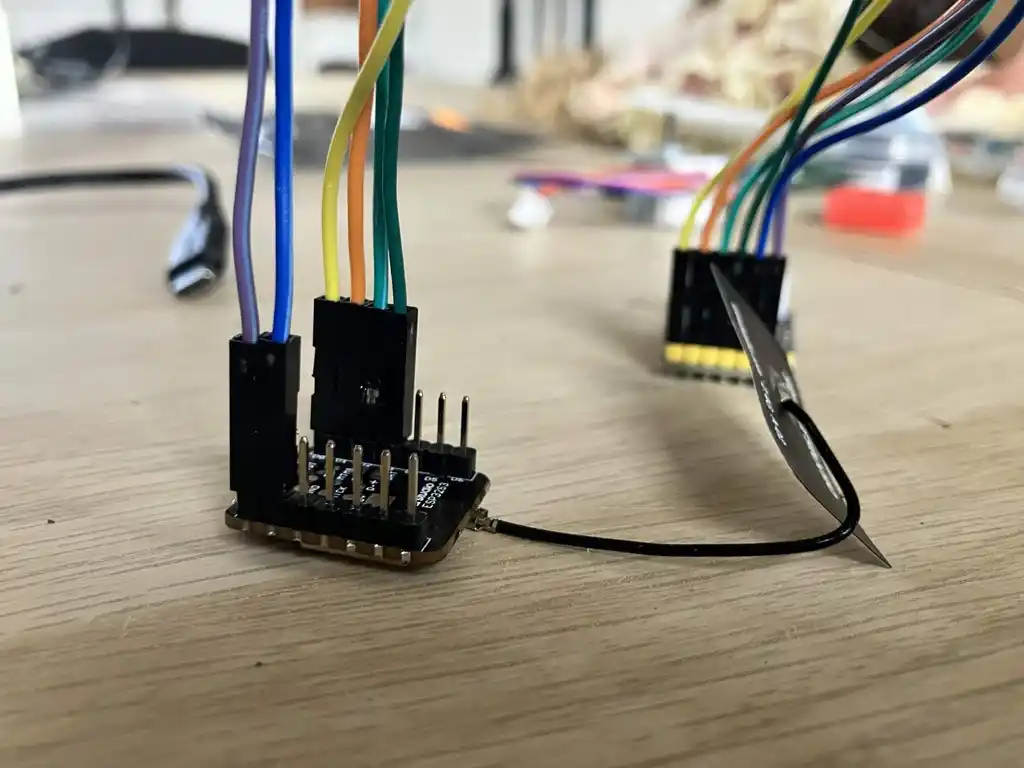
For those of you who haven’t seen by now, I spent the majority of September hacking a doll into an animatronic imitation of the girl from The Exorcist, for a play called The Turning at Bly Manor!
It was an amazing experience and it’s taught me a lot. I’m also really proud of the result! Thank you to everyone who helped me out on this, and everyone who gave up their time and resources to help me get it done in time. ❤️
Resources used:
- 1 x creepy doll
- 2 x ESP32-S3 modules
- 2 x 2.4GHz rod antennae
- 1 x momentary pushbutton
- 1 x stepper motor + driver board
- 2 x custom 3D printed cases
- Pretty much all of my brain cells
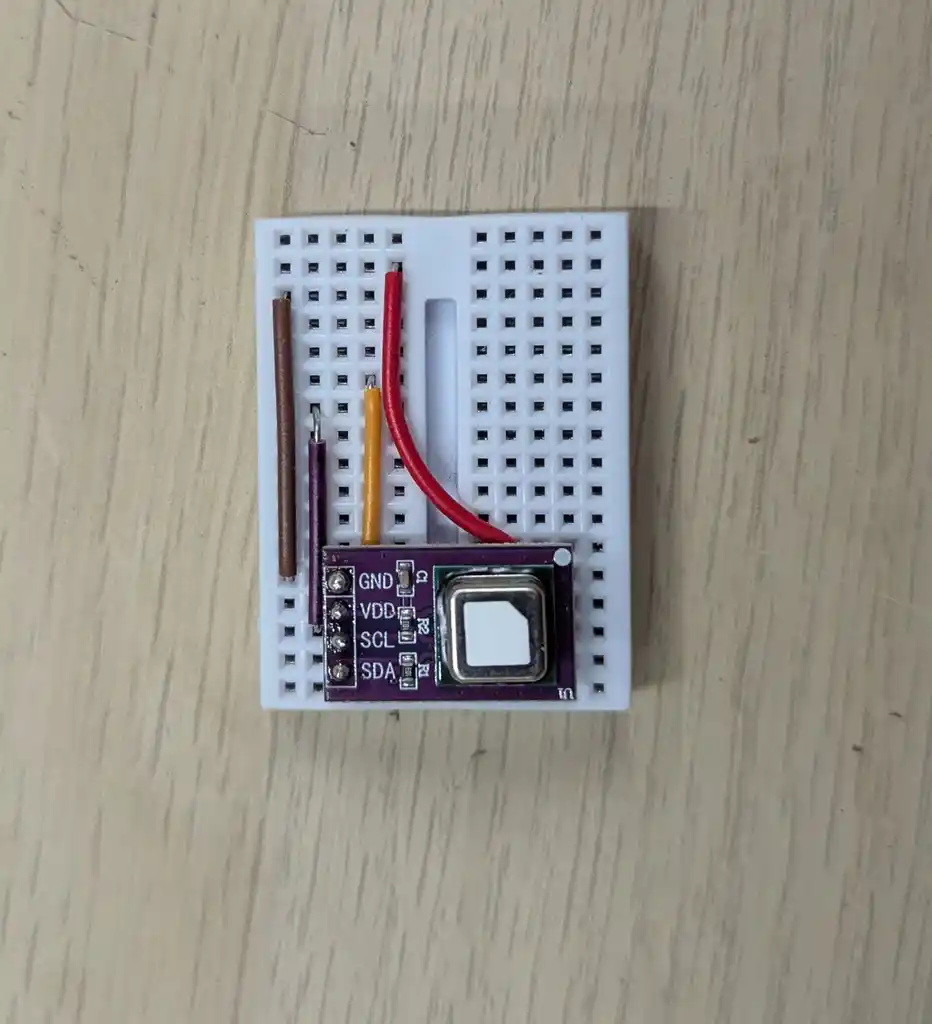
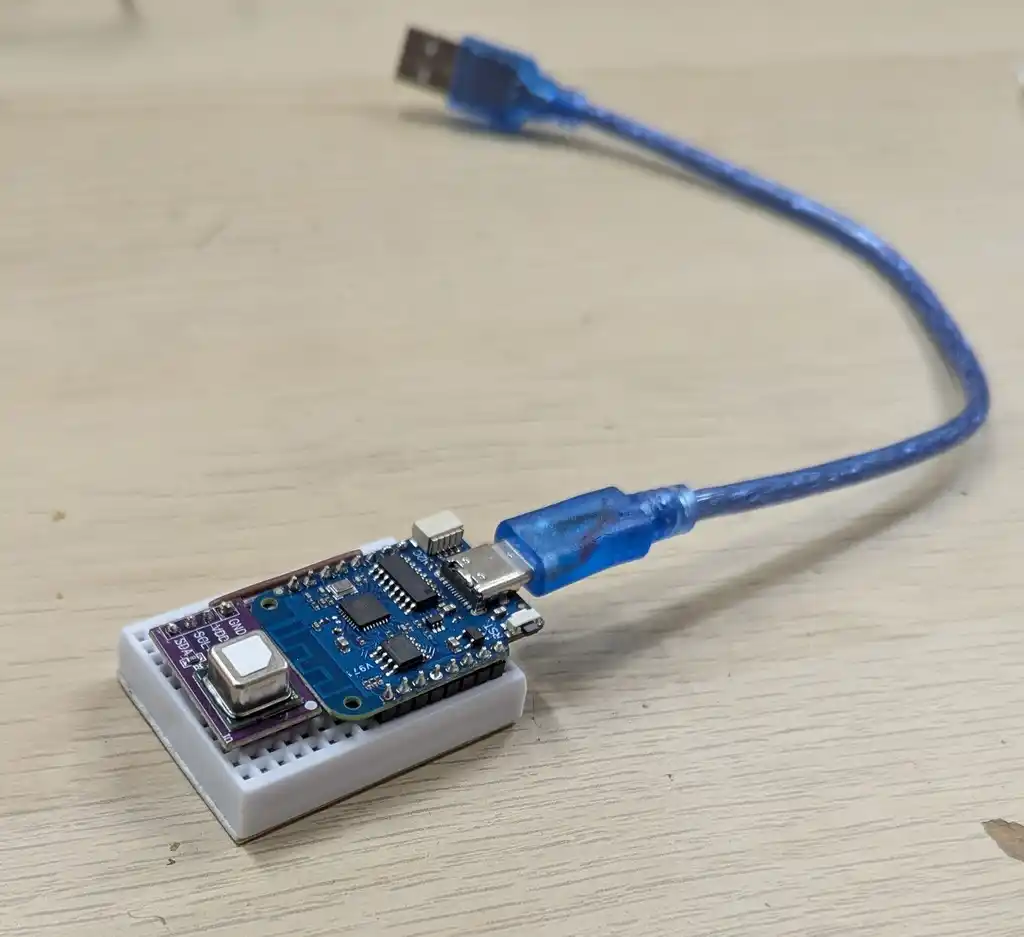
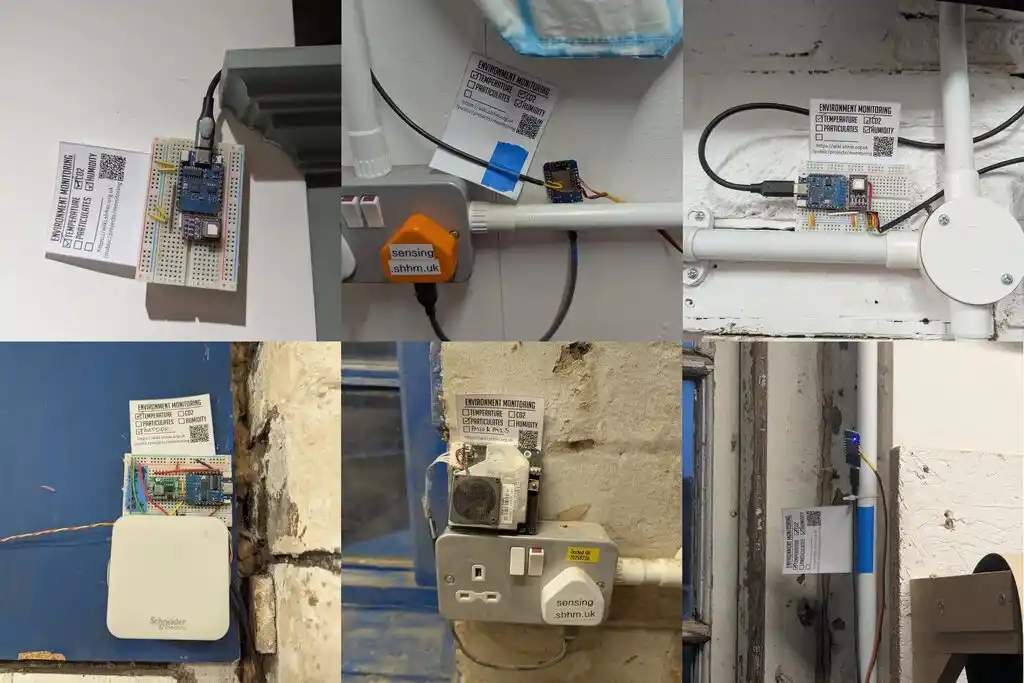
alifeee - more environment sensing
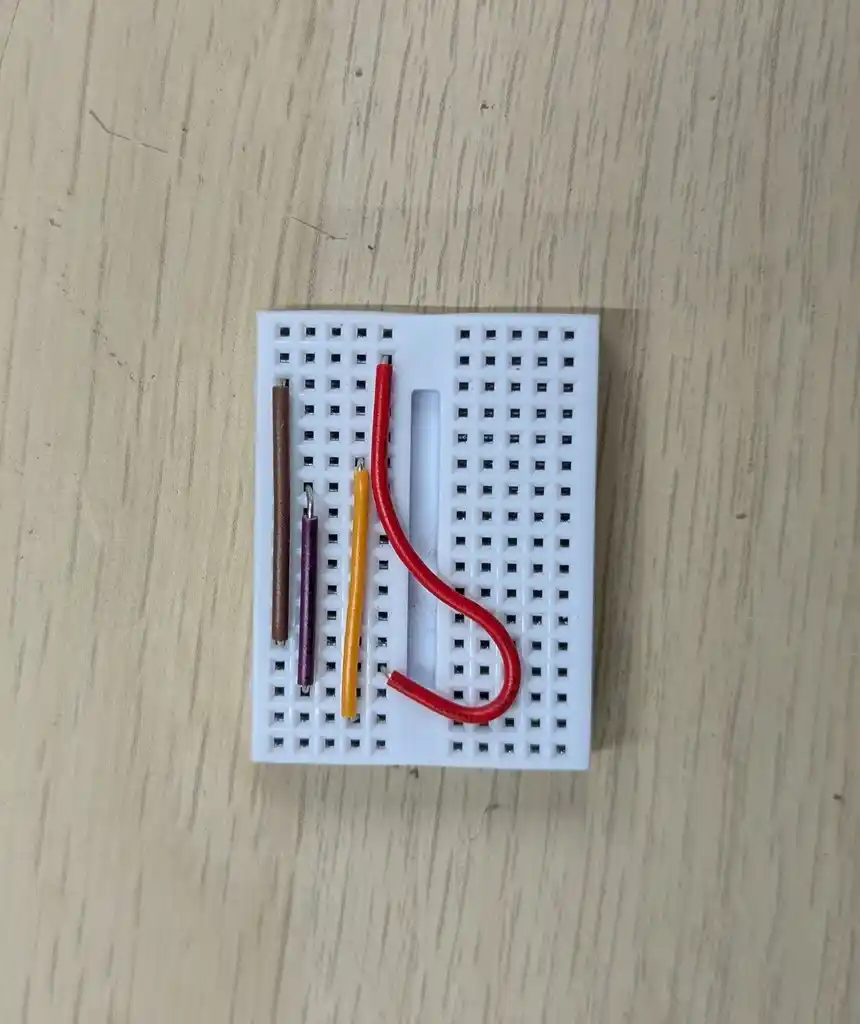
assembled a board for some more environment sensing, as well as making labels for all the existing sensors in the space.
Tom - telescope pictures
Got a decent result out of the 3d printed telescope last night. Western Veil, 5 hours of data.

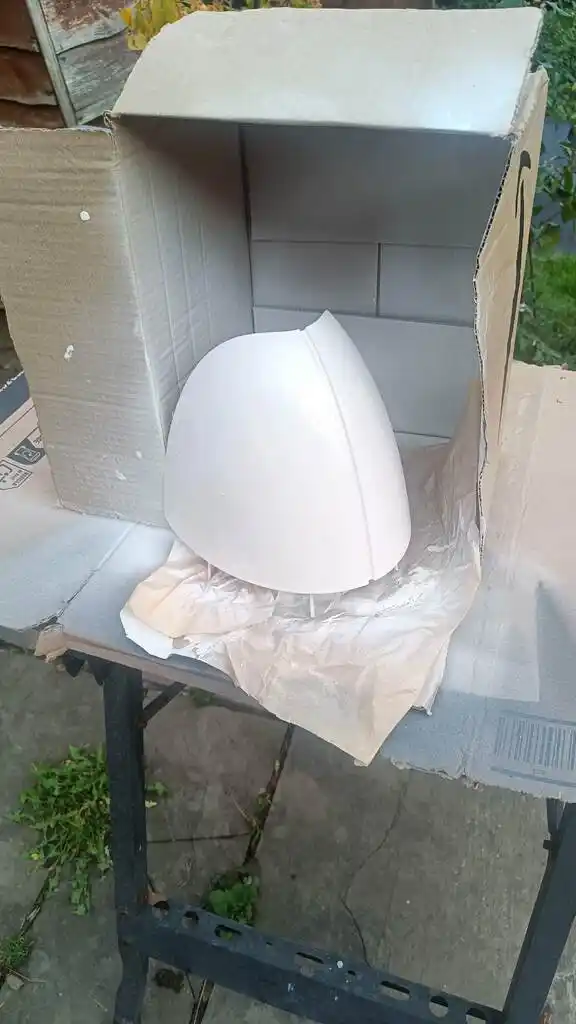
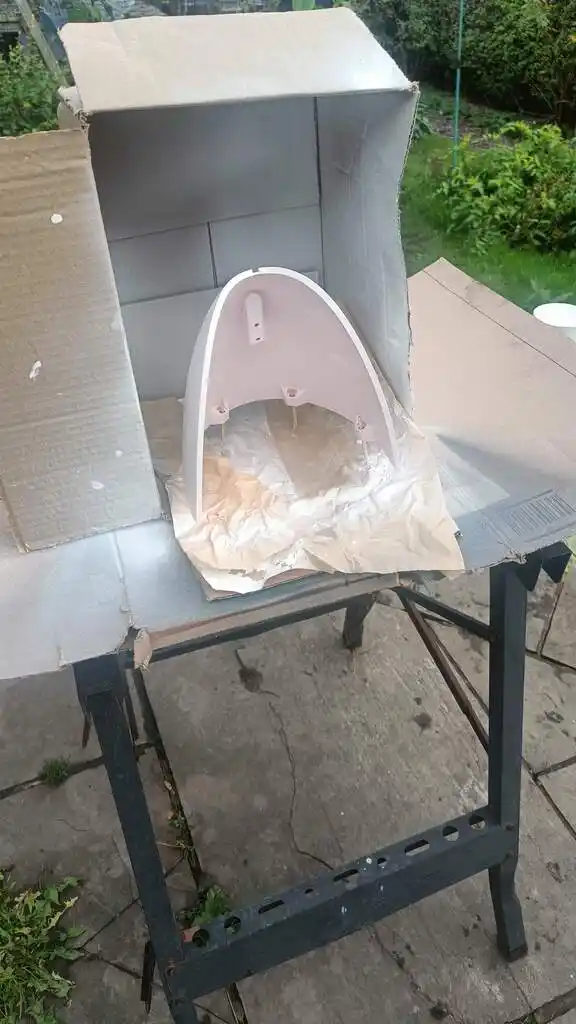
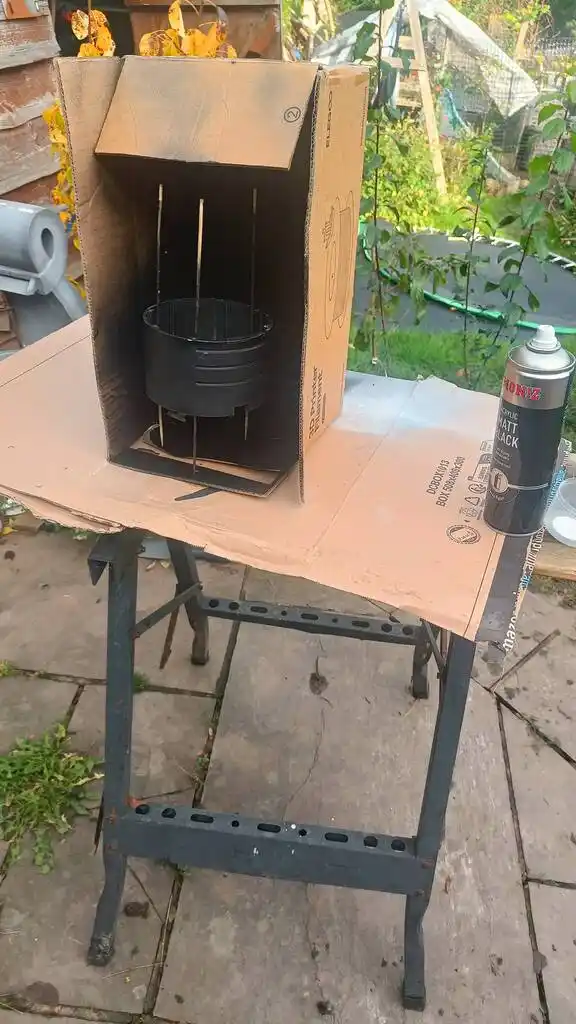
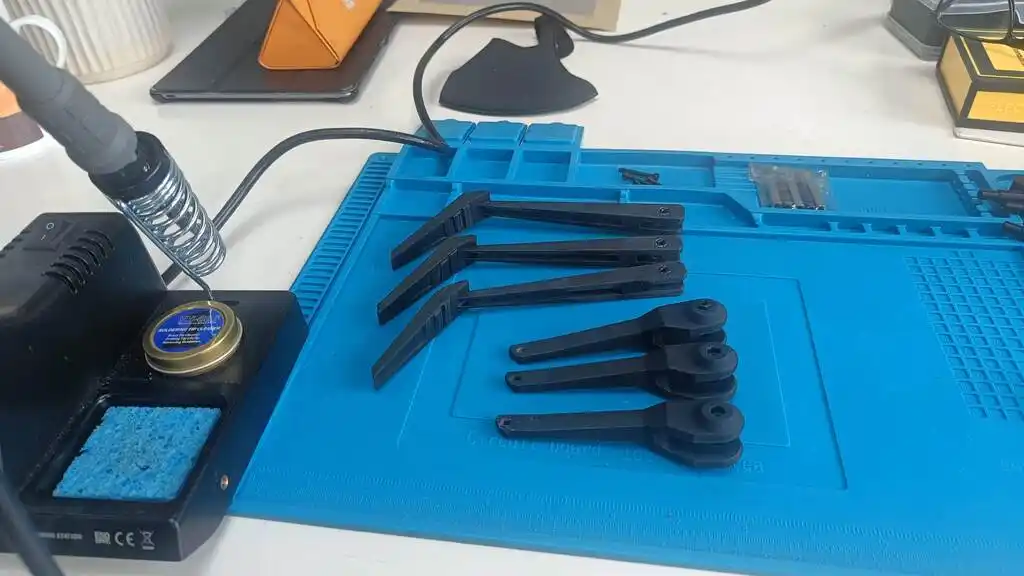
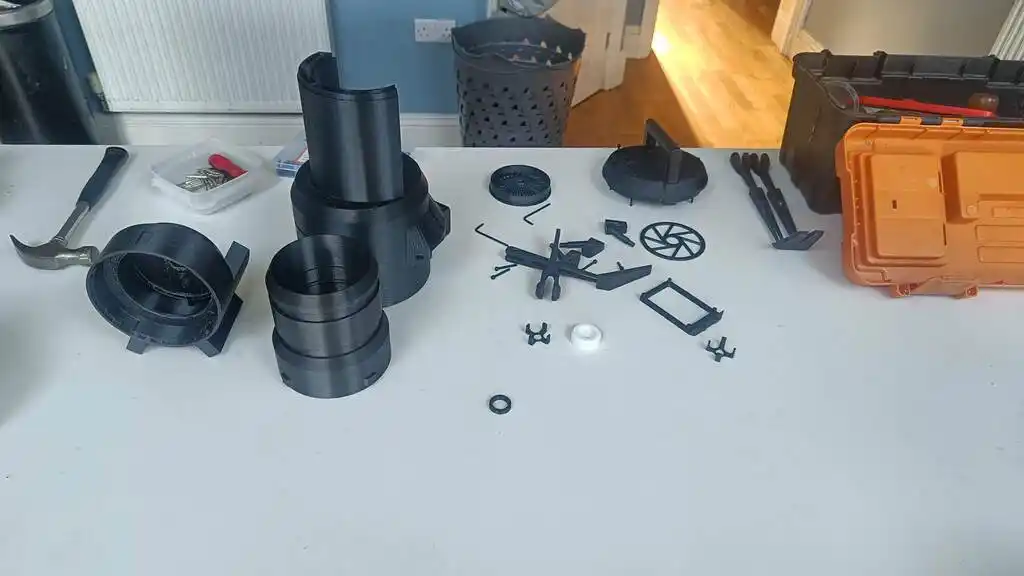
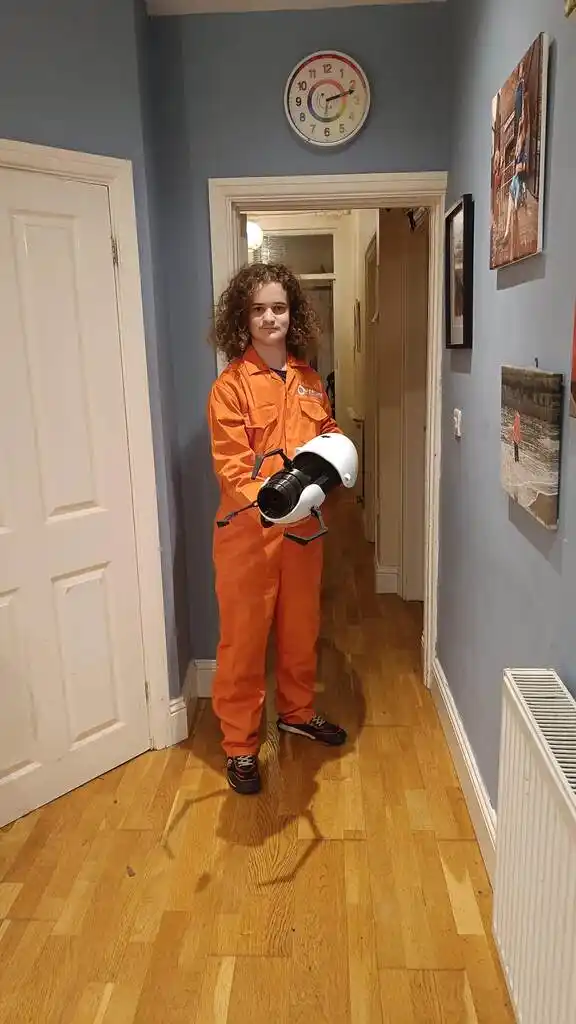
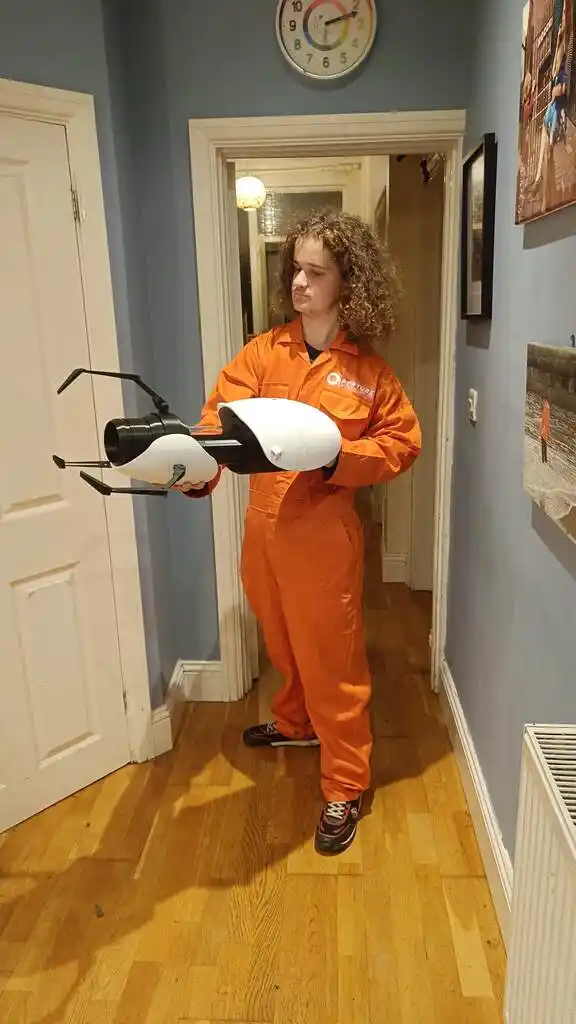
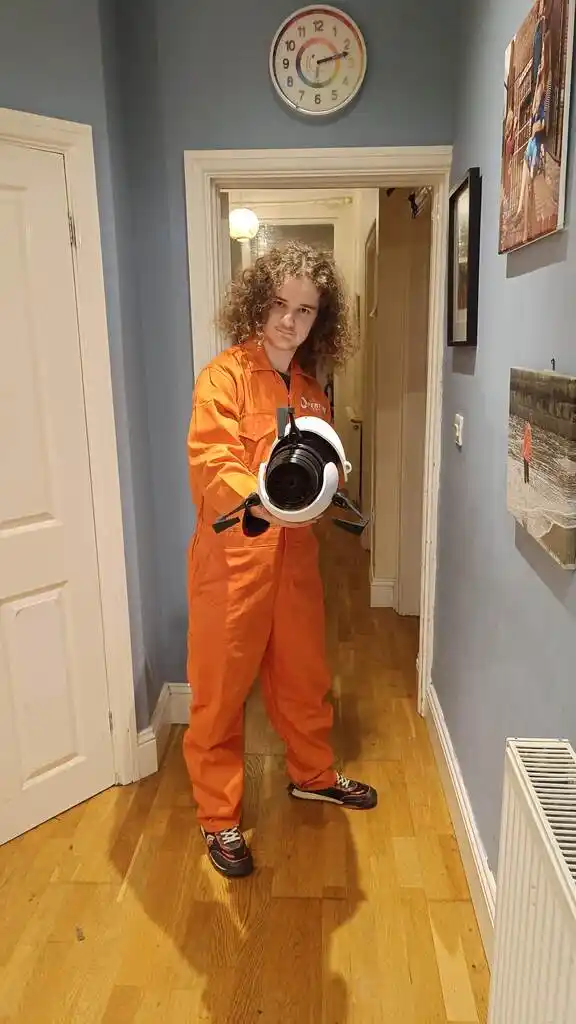
Toby and Dexter - building a portal gun
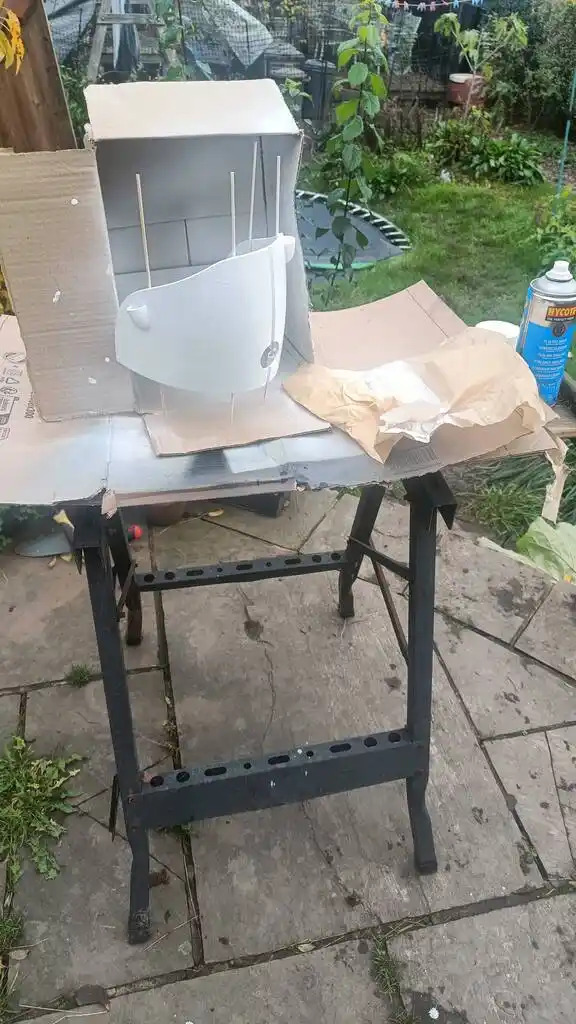
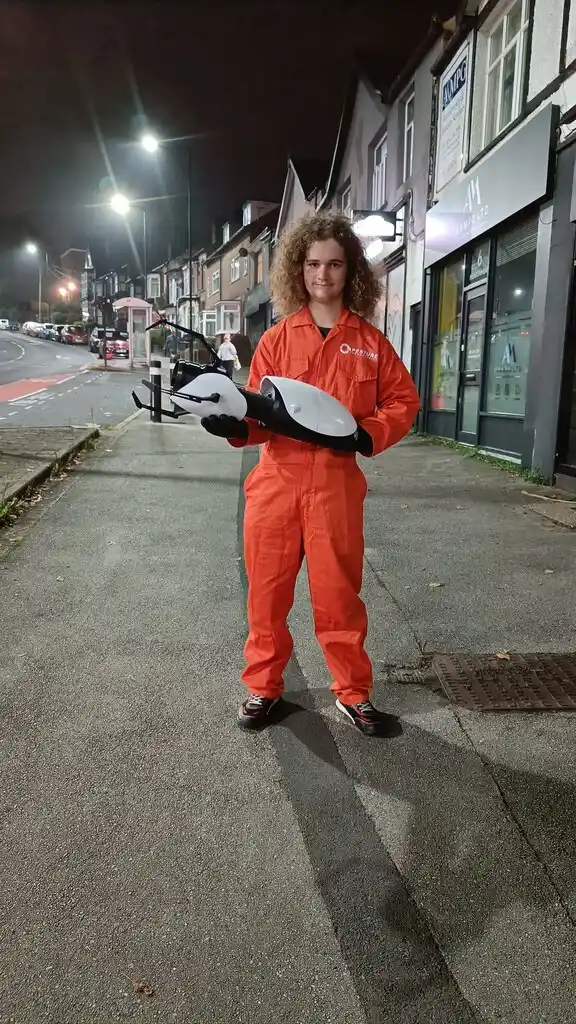
When it comes to Halloween outfits, my son Dexter has always been happy to use whatever we have around the house to make his. Until this year, when he announced that he wanted to look like a player character in the video game series Portal, complete with a full-sized replica of the iconic portal gun.
A couple of slight problems here:
- The portal gun would need to be 3D printed, but I’d never touched 3D printing before in my life
- It was already mid-October
Fortunately, I had just joined Sheffield Hackspace!
I am now thoroughly indebted to the longstanding Hackspace members who not only showed us how to get started with the 3D printers, but also helped out by printing some of the parts themselves so we could get them done in time.
The assembly was not without its challenges, and almost all of it was new territory to me. And then there was the outfit. The orange boiler suit was easy enough to get, but putting the Aperture Labs logos on it nearly had me pulling my hair out. The iron-on transfer printer paper was surprisingly fiddly to get right.
It was tight, but somehow or other (and with more than a bit of shouting and swearing from me), by 6pm on Halloween we were good to go! You can see the results in the pictures (Dexter has given his consent for these to be published).
Of course this isn’t the end of the project. Due to the tight timescales, we only did the physical assembly of the gun, and even then we cut a few corners. Phase Two will involve taking it all apart again and adding in the electronics. But not until I’ve recovered from Phase One…
For reference, here’s the project page we used for the portal gun build: https://www.thingiverse.com/thing:6191828
alifeee and Adam - trying out LED signs
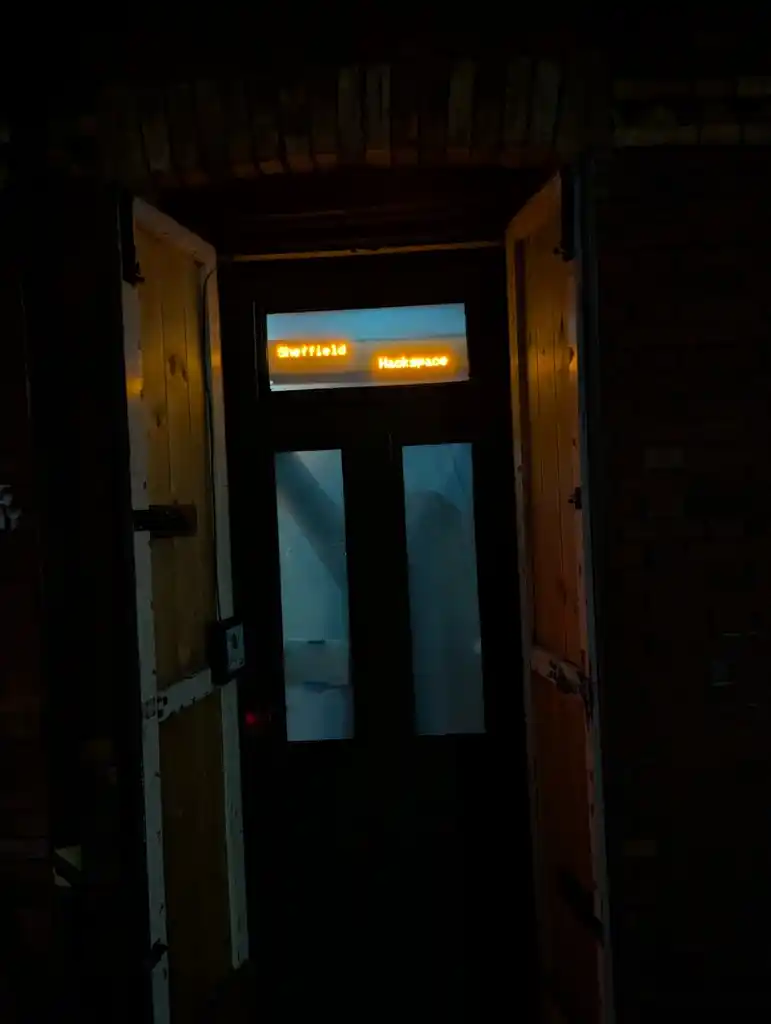
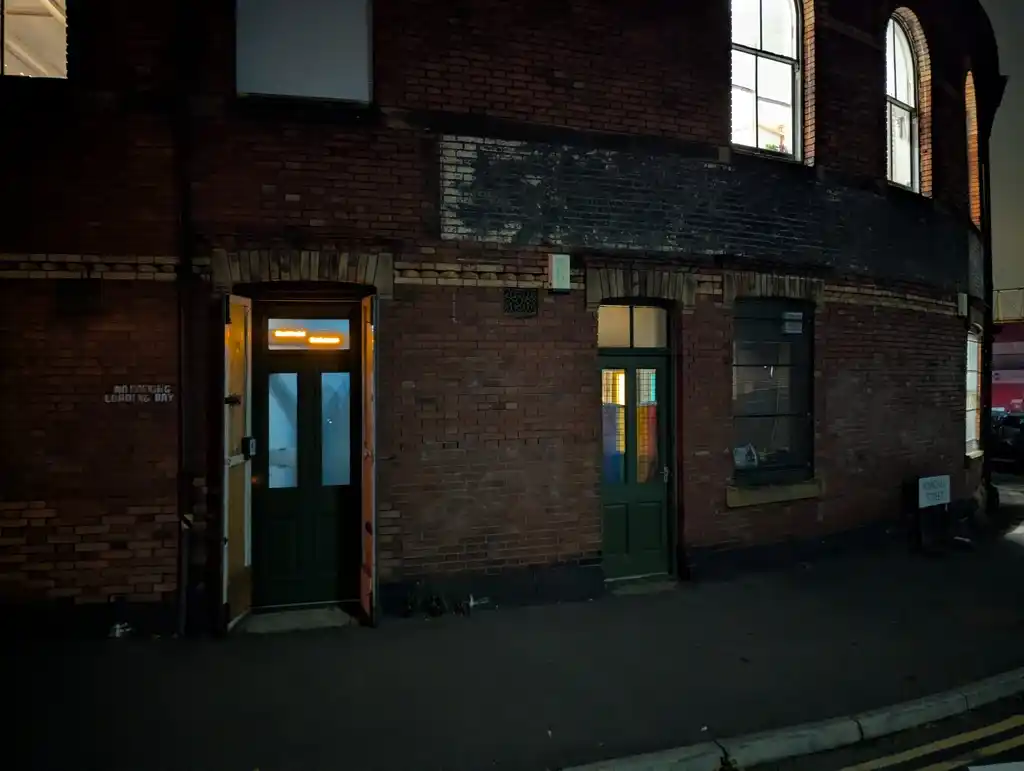
Seeing what it would look like if we had a sign in the door. It looks better in person…
Rob - making a pulley with the CNC mill
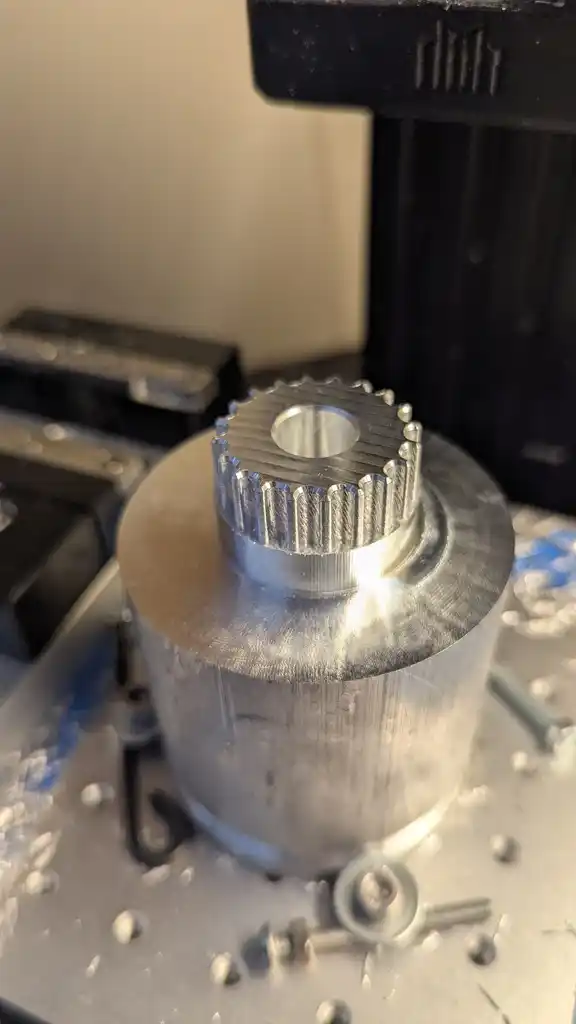
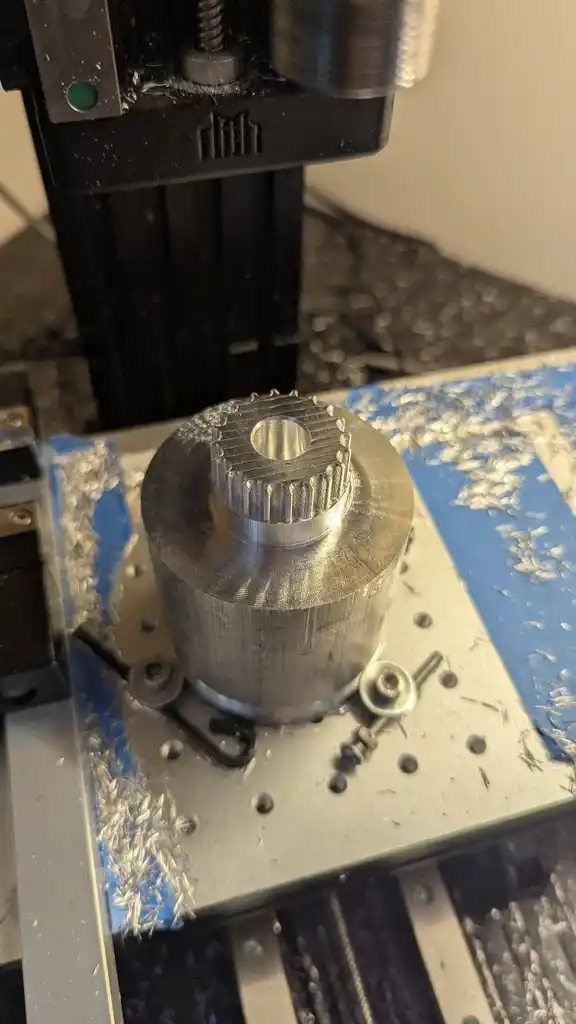
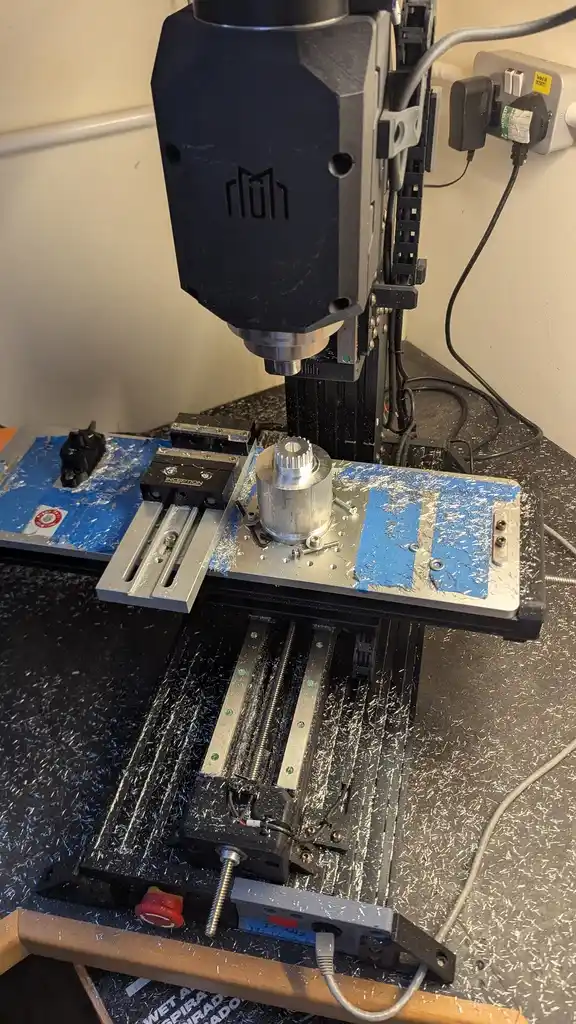
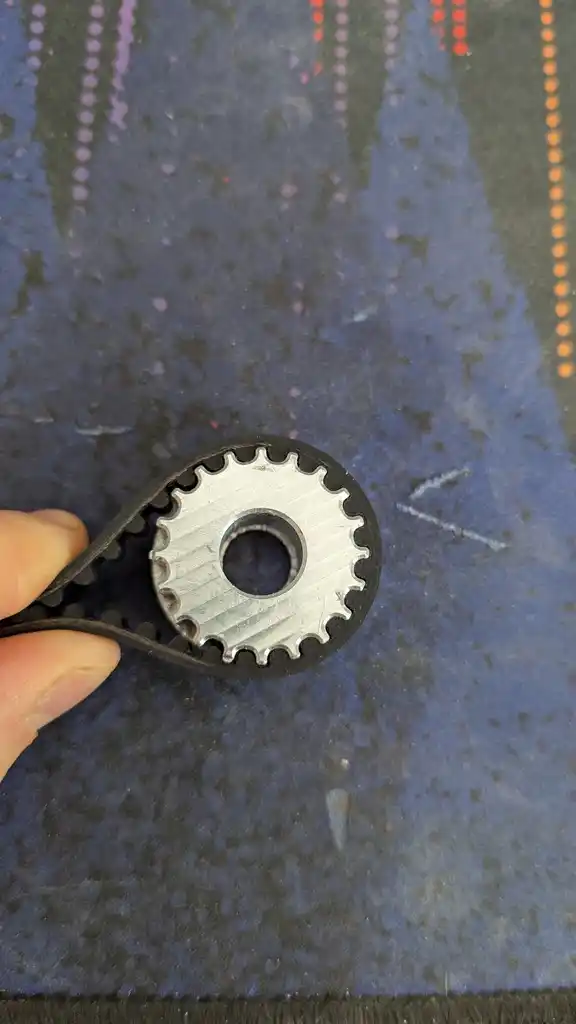
Thought I’d throw these up here to show what our Milo CNC can do. This is a HTD 5M pulley, machined out of a billet of 6082 aluminium. This little machine keeps surprising me!
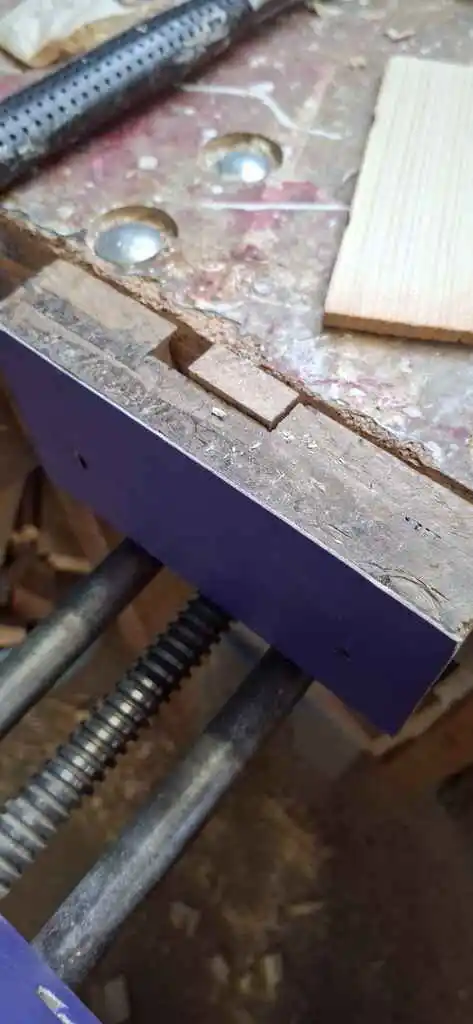
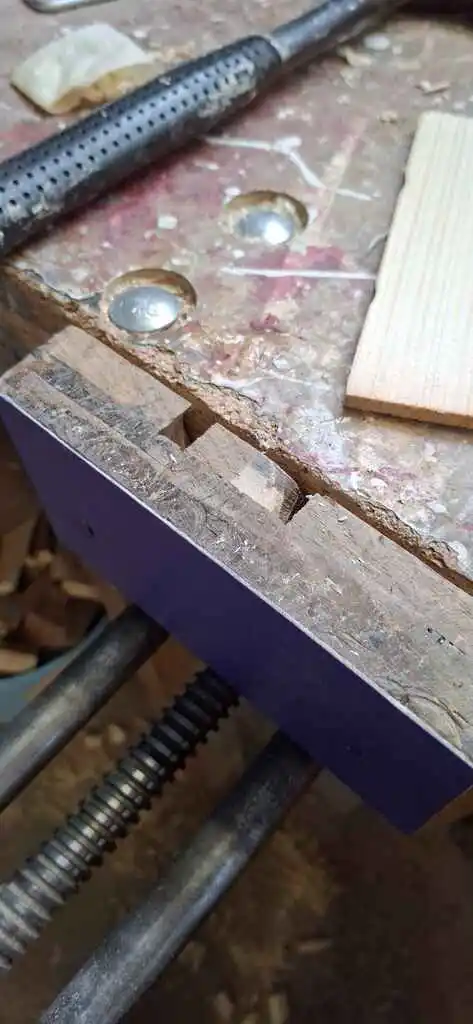
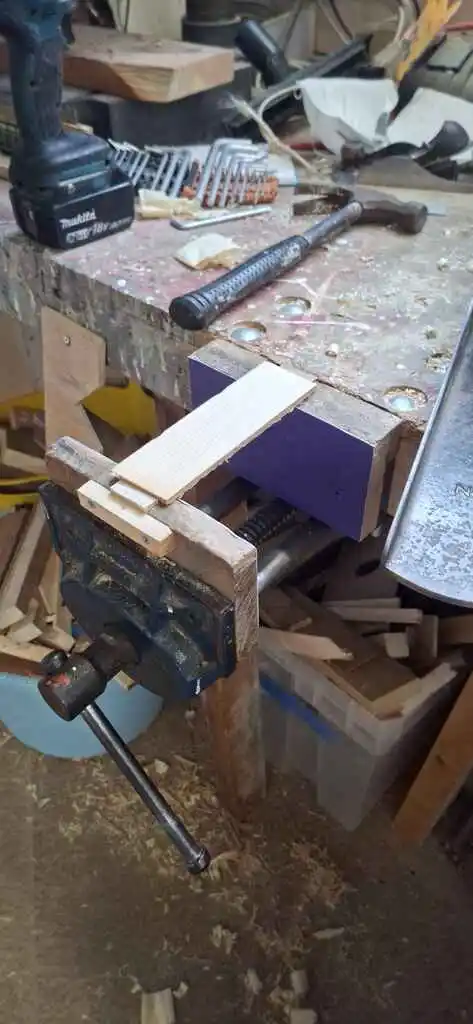
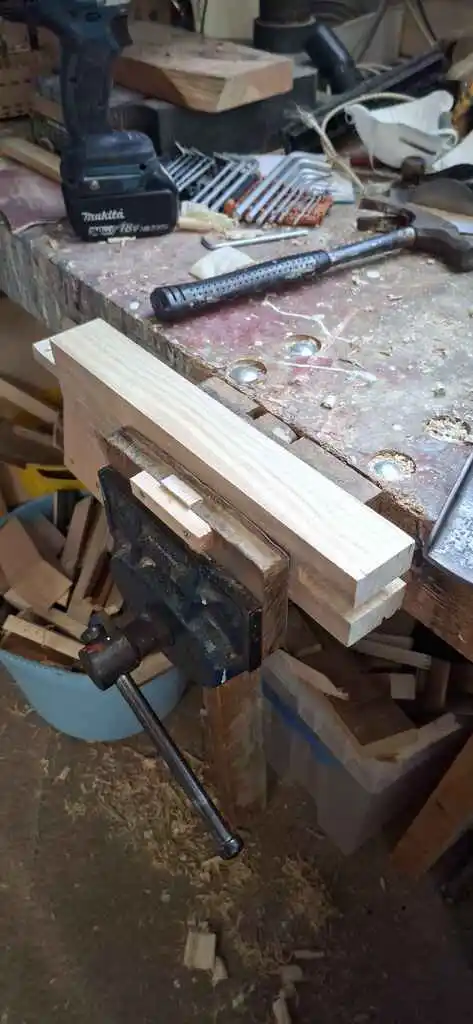
Robin - improving bench vice
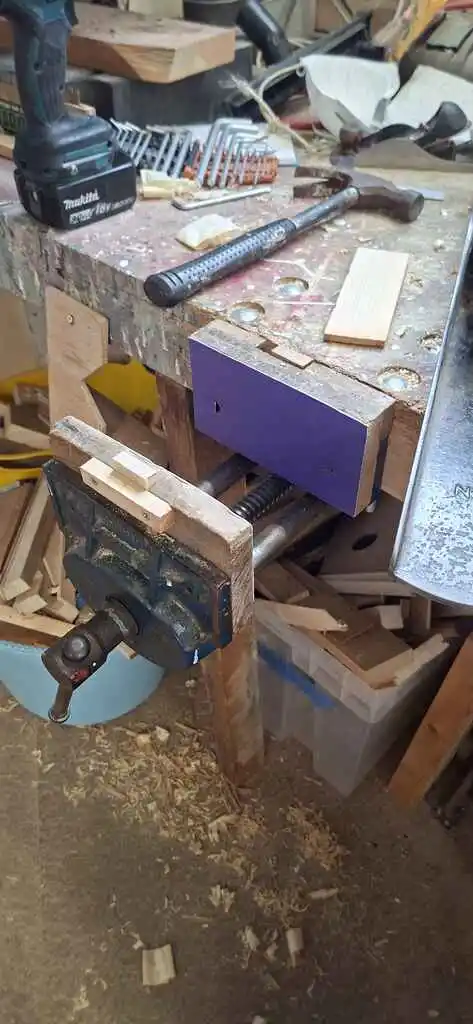
I have made some alterations to one of the bench vices in the wood shop - the clamping surfaces have been flattened, and a leather surface applied to give better clamping consistency and hopefully less tipping!
Also, I have added two bench dogs to allow for easier clamping of thin pieces 🪚
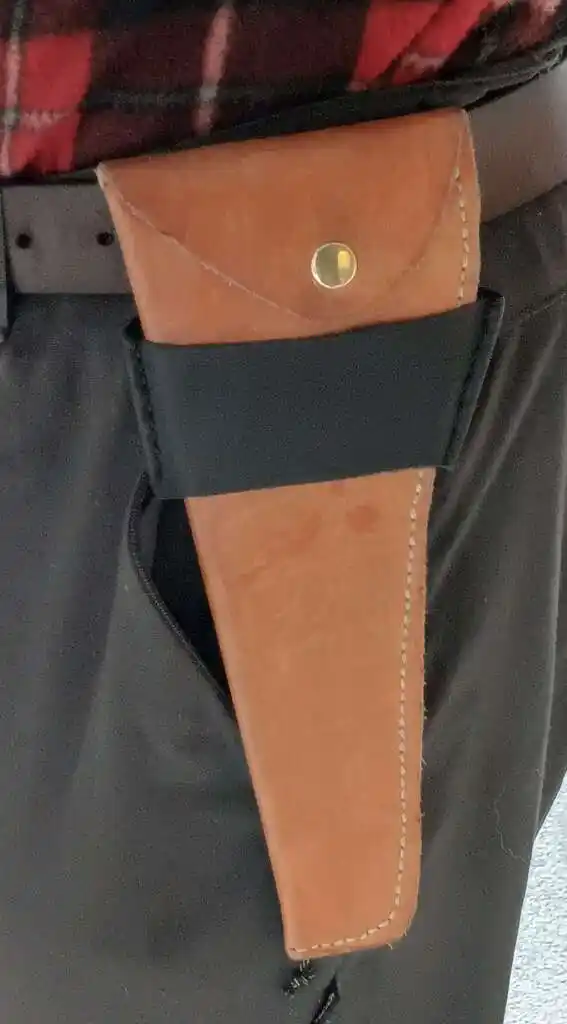
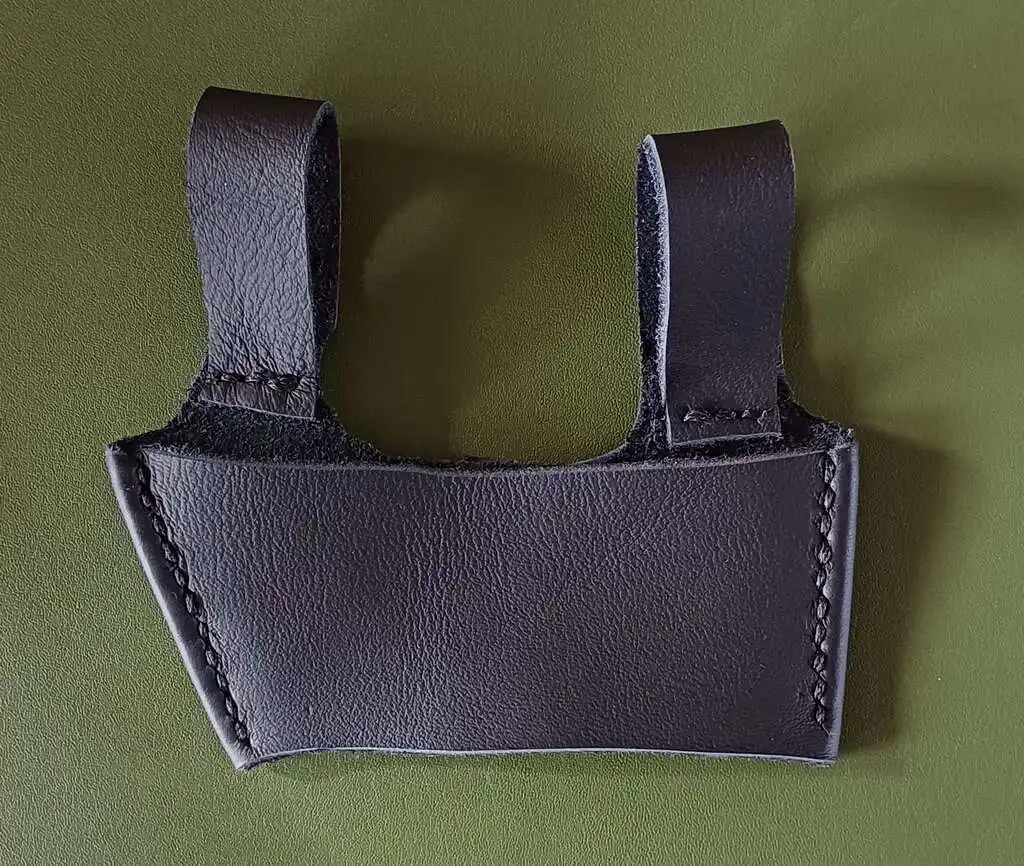
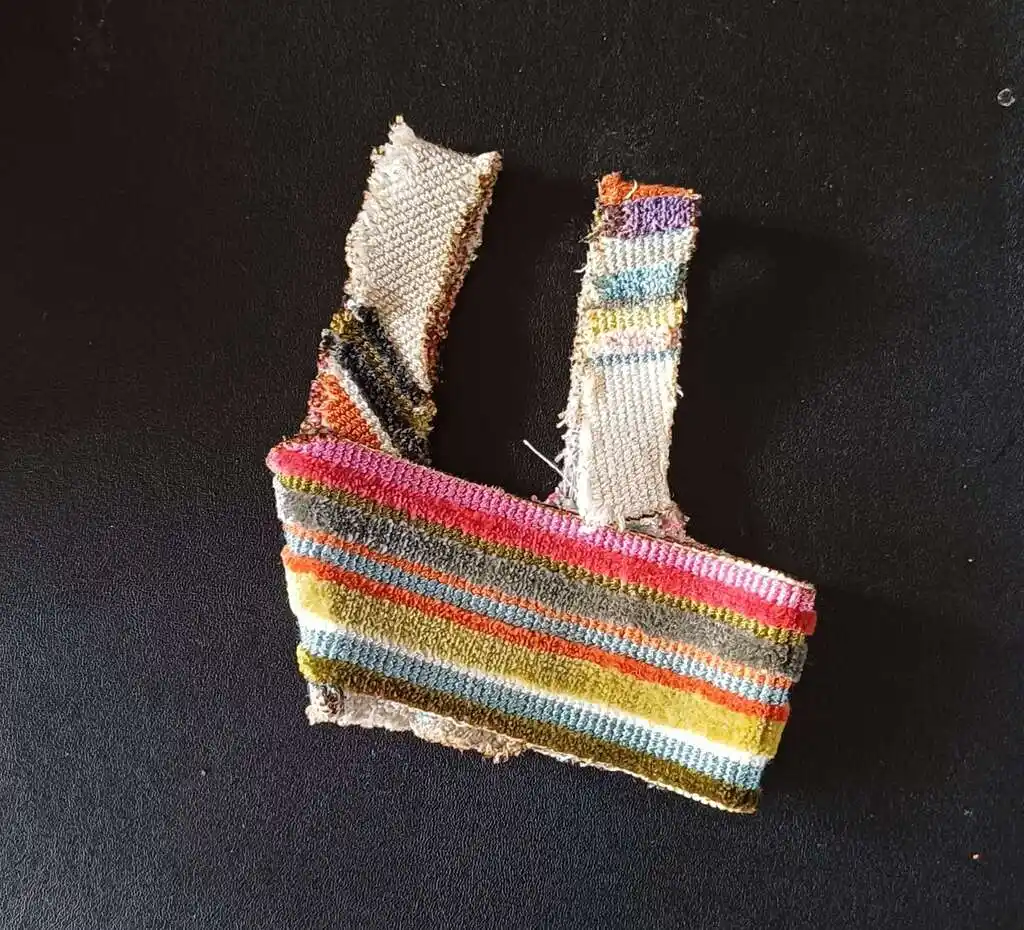
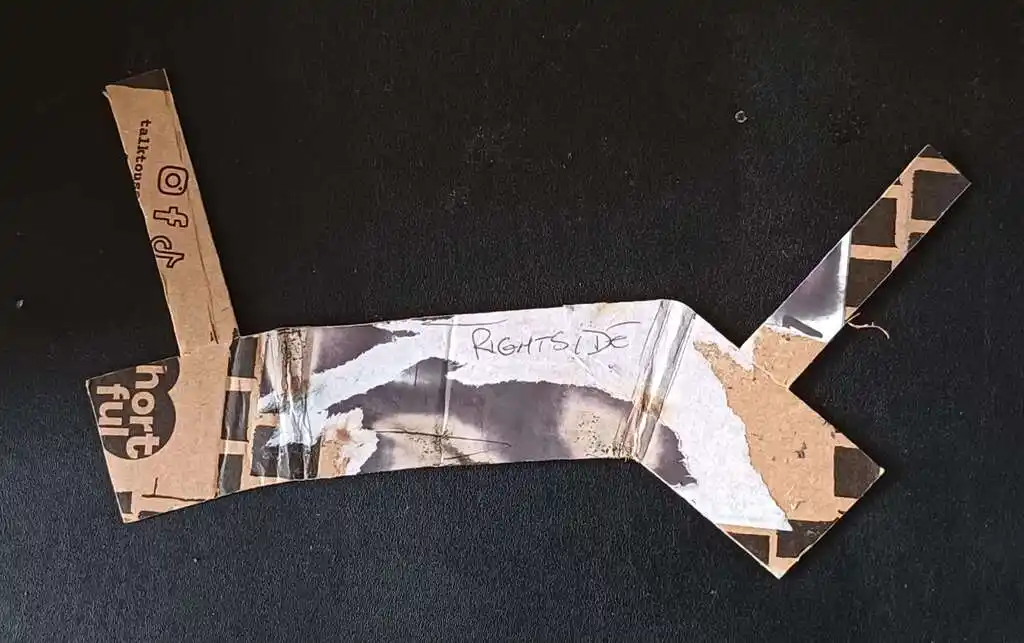
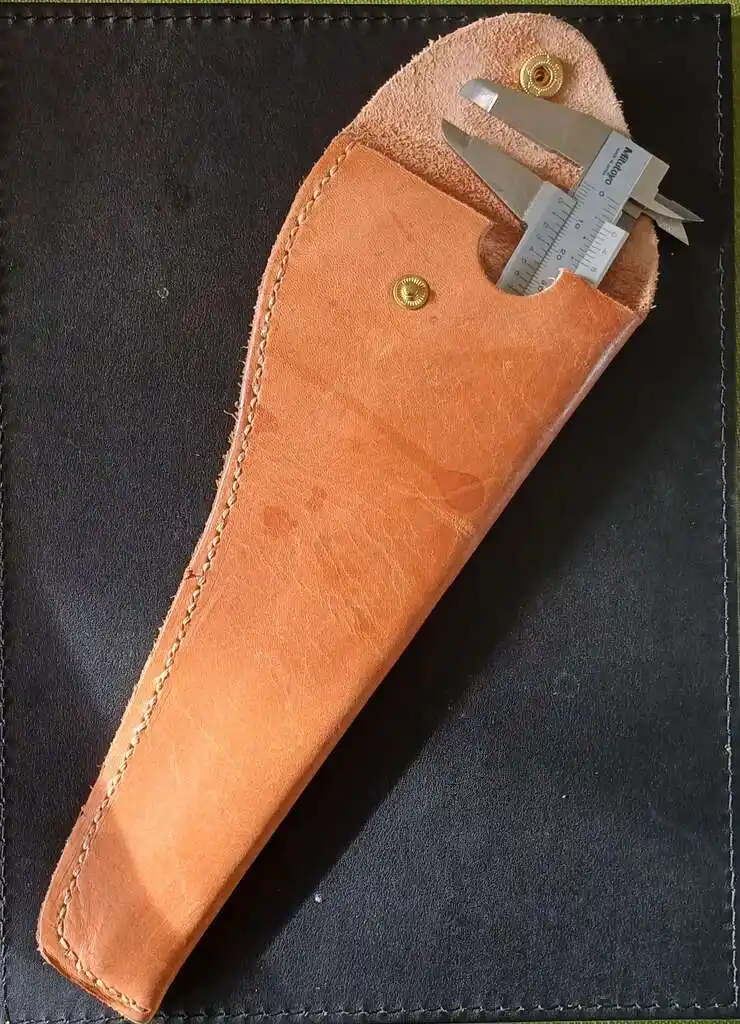
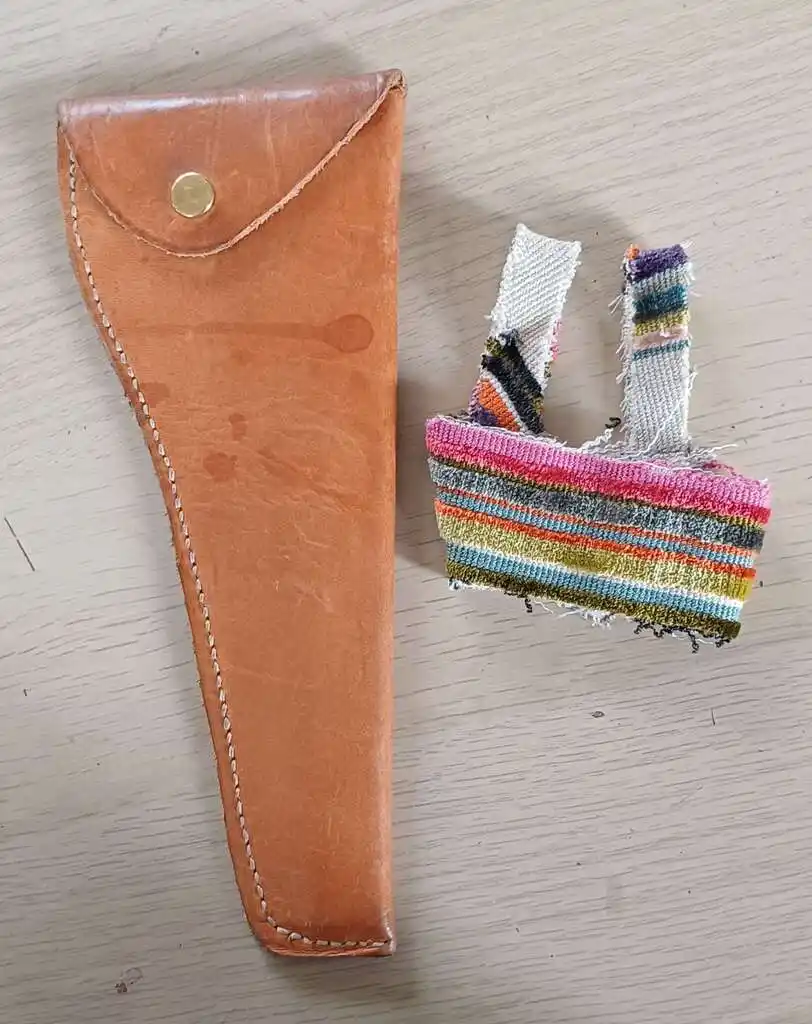
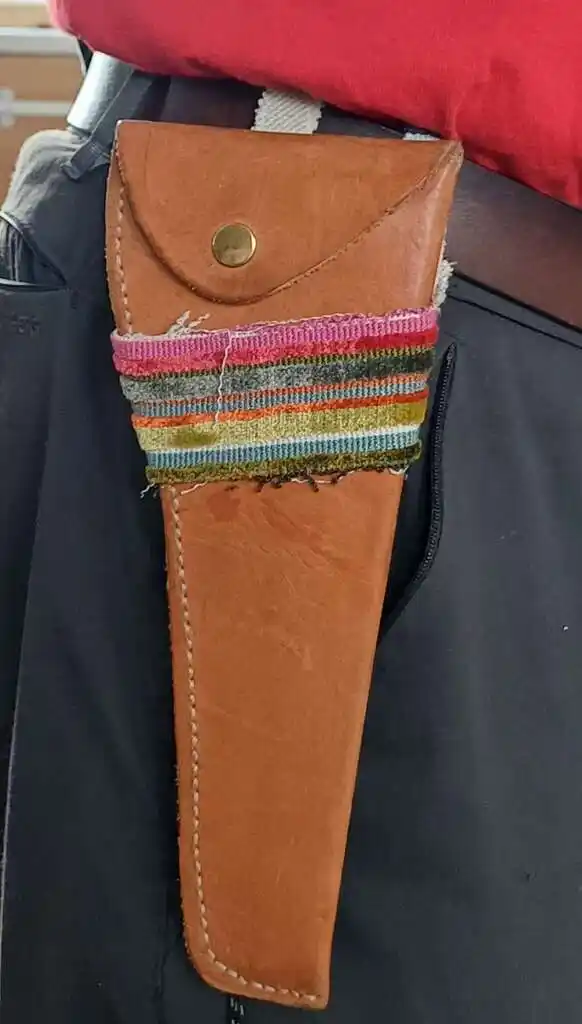
Alan - leather belt holster
I previously made a leather holder for my calipers. This time I made a soft leather belt holster.
Images: cardboard template; fabric proof of concept; finished holster; various images of holsters in use.
alifeee - collaging pictures
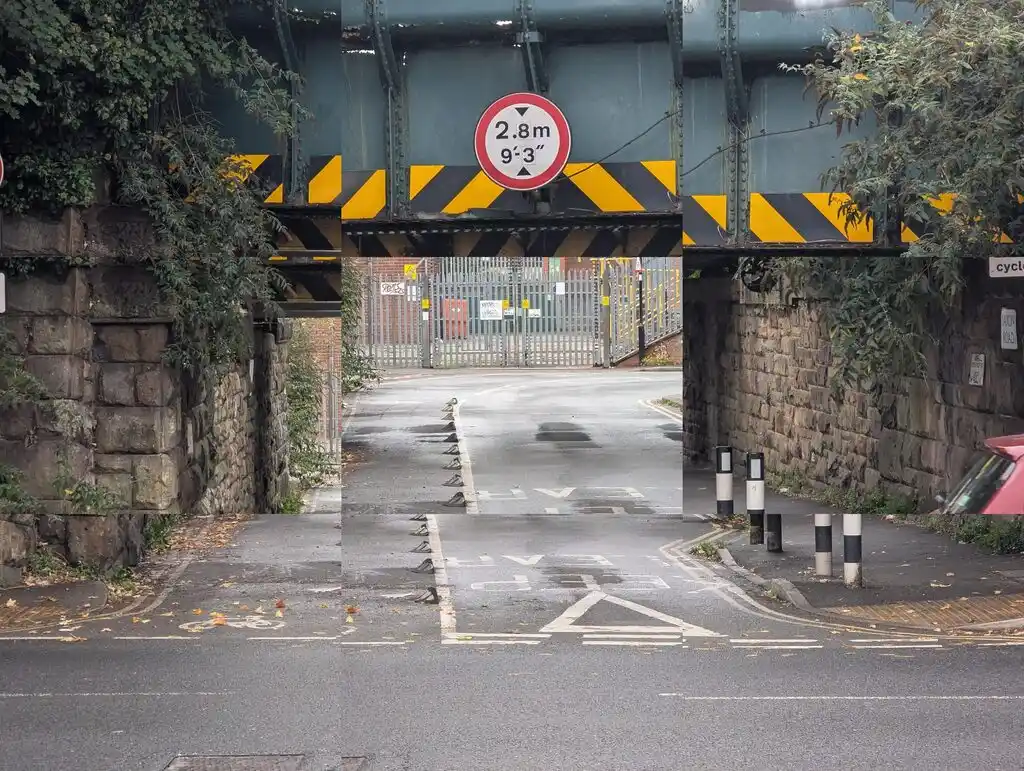
For some reason, I took a few pictures (9) and then digitally edited them together, to create a “broken” effect. It’s ok.
alifeee - talking PS/2 with an ESP
I’ve been trying to use a keyboard with a microcontroller. It turns out that the PS/2 protocol is quite simple to understand, so people have written many libraries for microcontrollers to read it. Now, I can plug a keyboard into an ESP8266! Hopefully, I plug a display into it, and have a custom typing thingie… watch this space
That’s all
That’s all for this month! Remember, you can:
- come and visit the space! https://www.sheffieldhackspace.org.uk/
- learn more about on joining on the wiki: https://wiki.sheffieldhackspace.org.uk/
- add your own items to next month’s month update: https://github.com/sheffieldhackspace/month-updates
Until next time :)