In a previous post I described how to align holes without measuring. My original alignment tool was laser cut, but due to lockdown I’ve had to devise a simpler way to acheive the same accuracy using readily available materials – this time I use BluTac and an old milk carton.
- My ‘hole’ list of videos –
- This post: 2 x jack socket holes, using BluTac and a milk carton (4:35)
- Oval USB-micro hole, using credit card and acrylic strip (2:40)
- Pin-hole for a recessed button, using only BluTac (2:28)
- Pin-hole for SMD LED, using only BluTac (1:18)
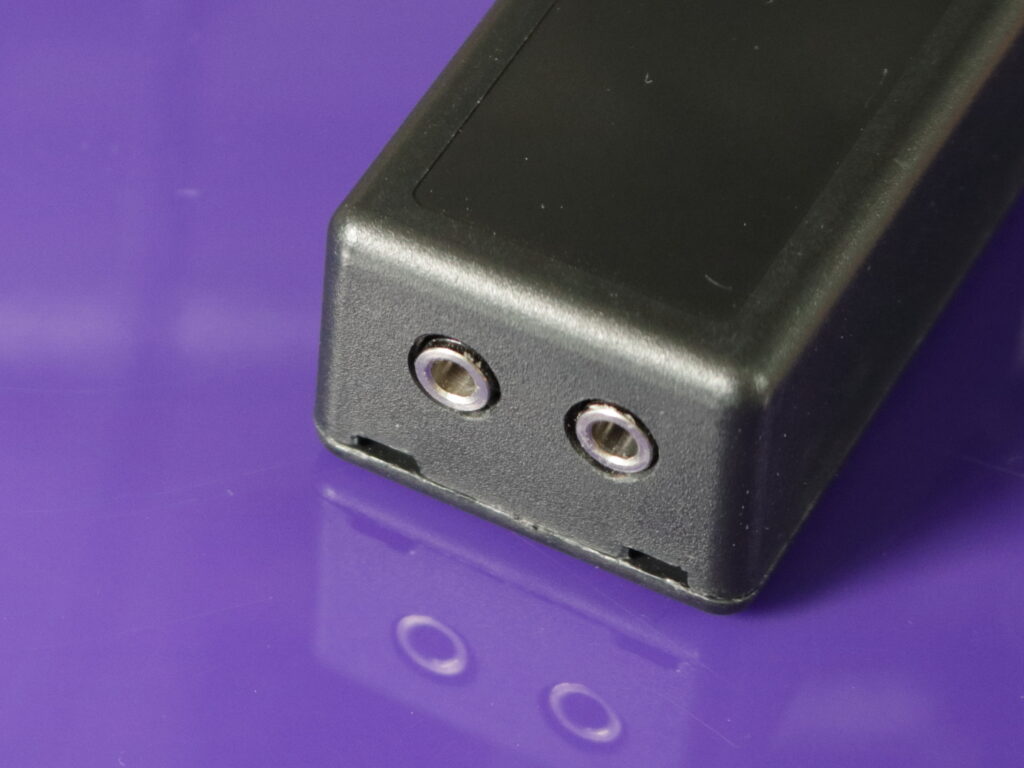 Holes for the 3.5mm sockets are exactly in the right place.
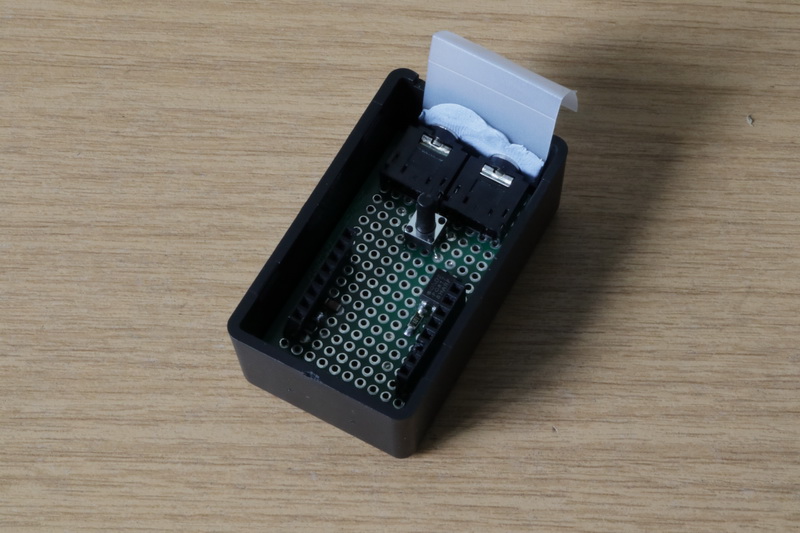
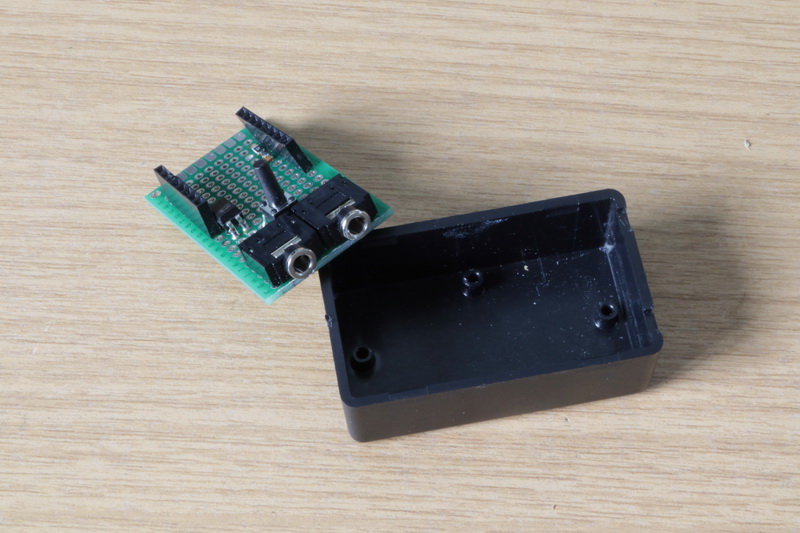 Circuit board and project box
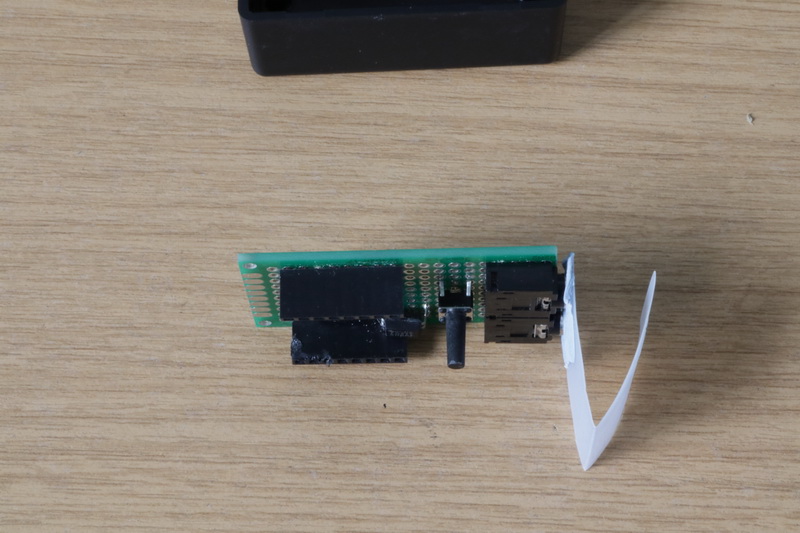
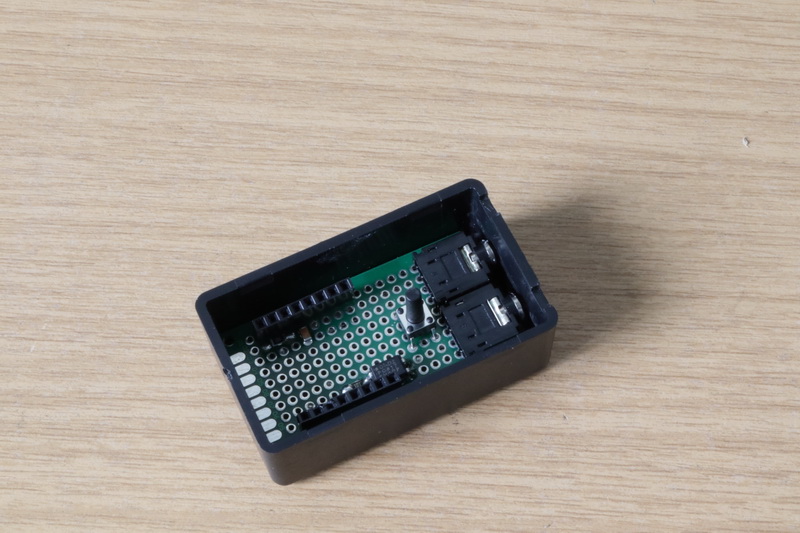 We can see where holes should be, but only from the inside.
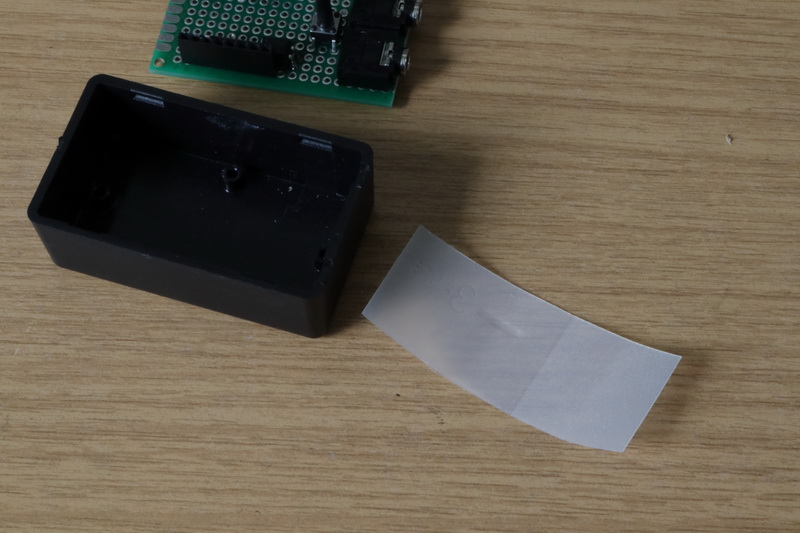 Cut a piece out of an old plastic milk carton, to fit inside the box
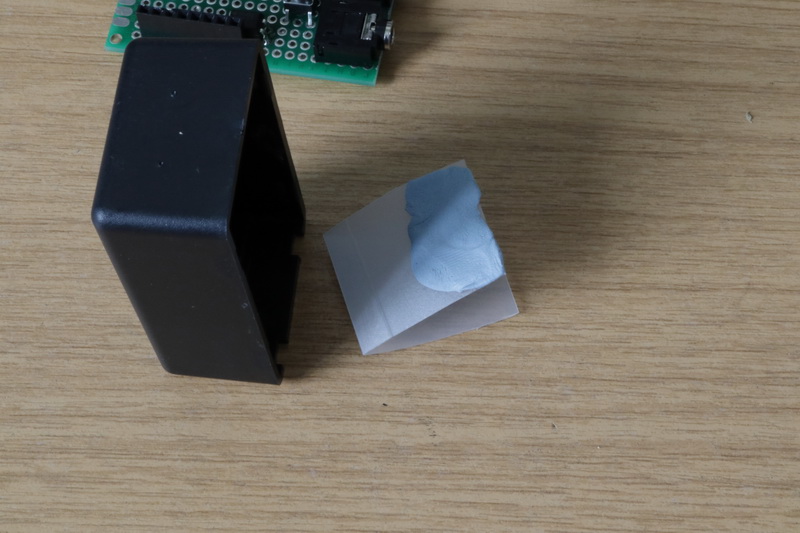 Fold the plastic and add a thin layer of BluTac (other colours are available)
 Press the plastic strip and BluTac onto the sockets to make an impression
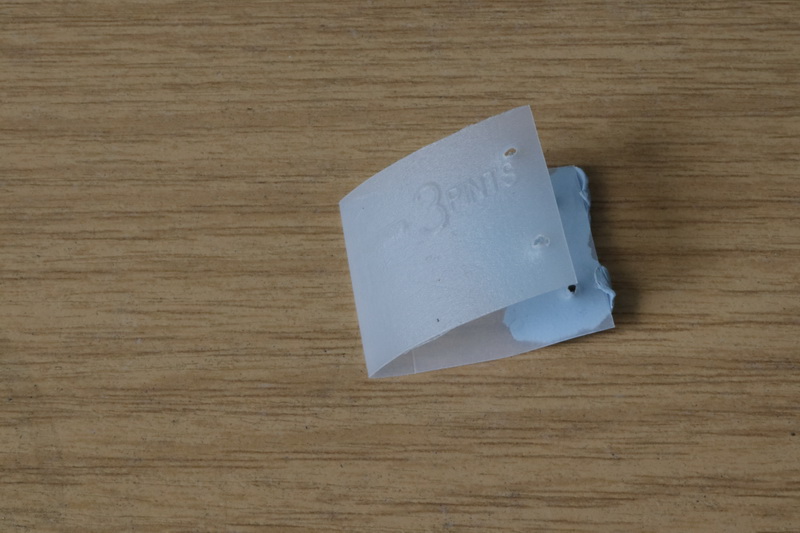
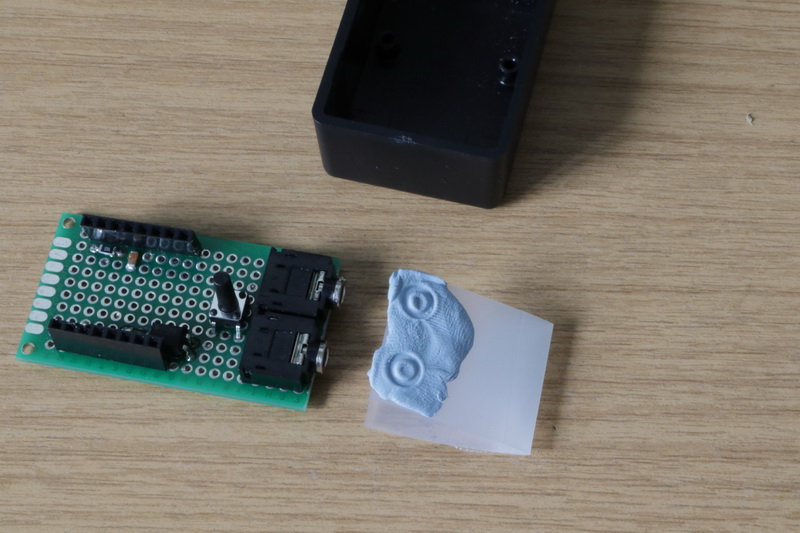 Carefully remove the plastic strip
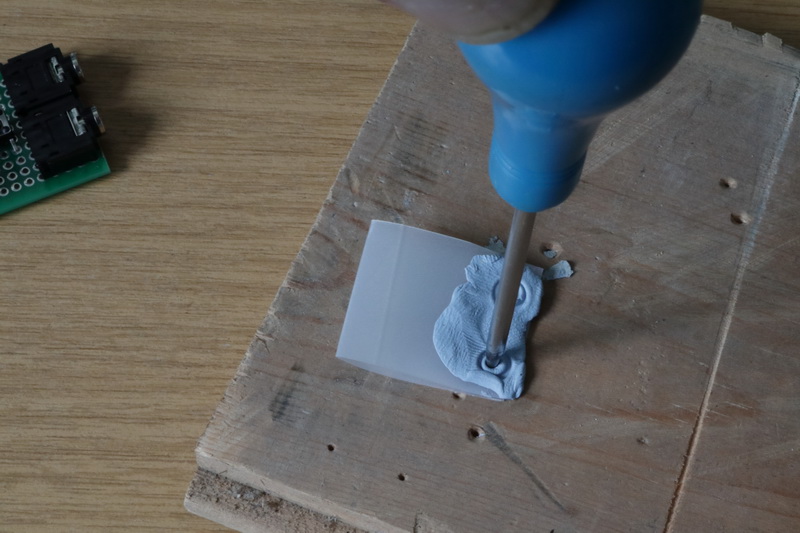 Position a bradawl in the centre of each hole and push through both layers of plastic
 Holes punched through correctly
Re-attach the BluTac in EXACTLY the same impressions you made previously. Accuracy depends upon it.
 Carefully insert the circuit board into the project box
 Ensure the circuit board is in the correct postion, and press the strip onto outside of the box
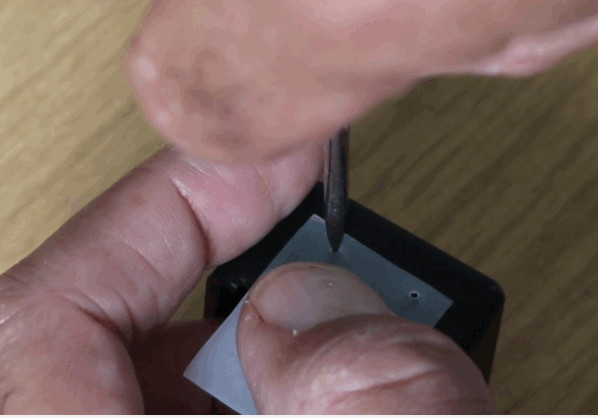
Use the bradawl to mark the drill centres Yes it’s just that simple. This method worked first time for me. If you are unsure, drill the -holes a bit smaller and file them out to be in the correct place.
A 4 minute video of this process is here.
Check out my videos for accurately marking other types of hole without measuring –
USB-micro oval cut-out (as described in a previous post here)
Pin-hole (ideal for a recessed reset button)
Pinhole on the lid to show the recessed LED of Wemos D1-mini